ZMR250 Quadcopter Protective Battery Cage
A walk through of the design and 3D Printing of a custom battery holder for the popular ZMR250 quadcopter frame. Designed using OpenSCAD and Printed using an Original Utlimaker 3D Printer.


Following on from my last post about a quadcopter part that I designed and printed, I have since gotten further with my quadcopter build. The quad is now fully functional, using a variation of the spacer that I designed in that post.
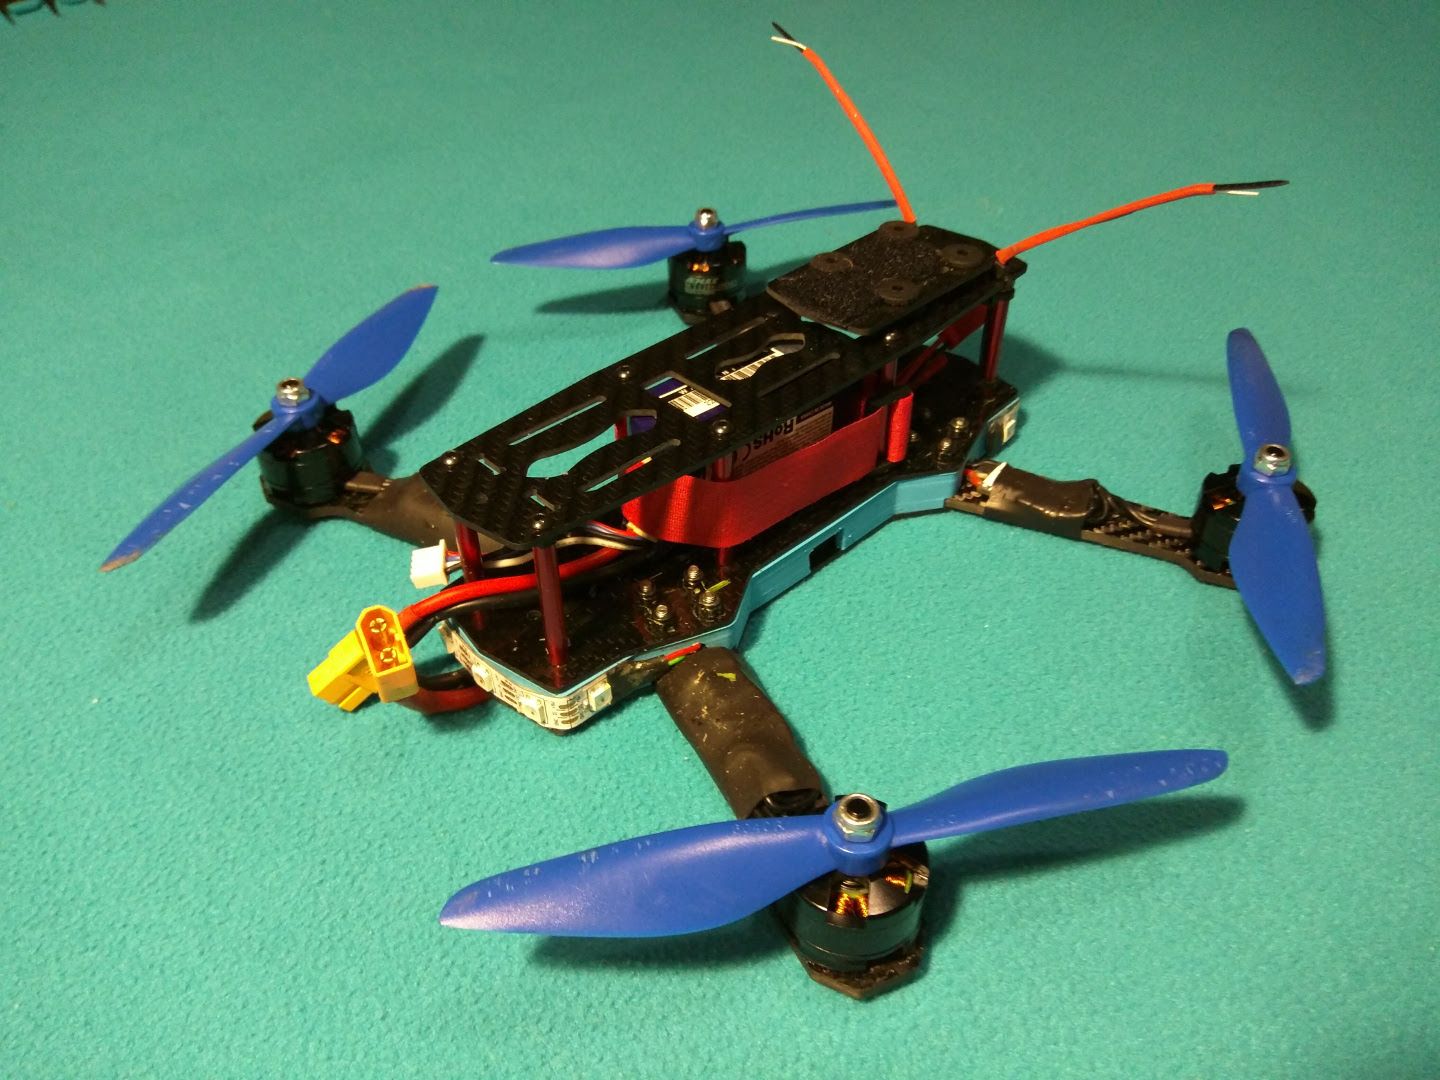
I ended up using a different flight controller, that had a better processor in it, so that I could use addressable LEDs, SBUS connection from the receiver and S-Port connection back to the receiver for telemetry.
So, on to the topic of this post...
We recently had a break in the weather long enough for a few flights in a nearby field.
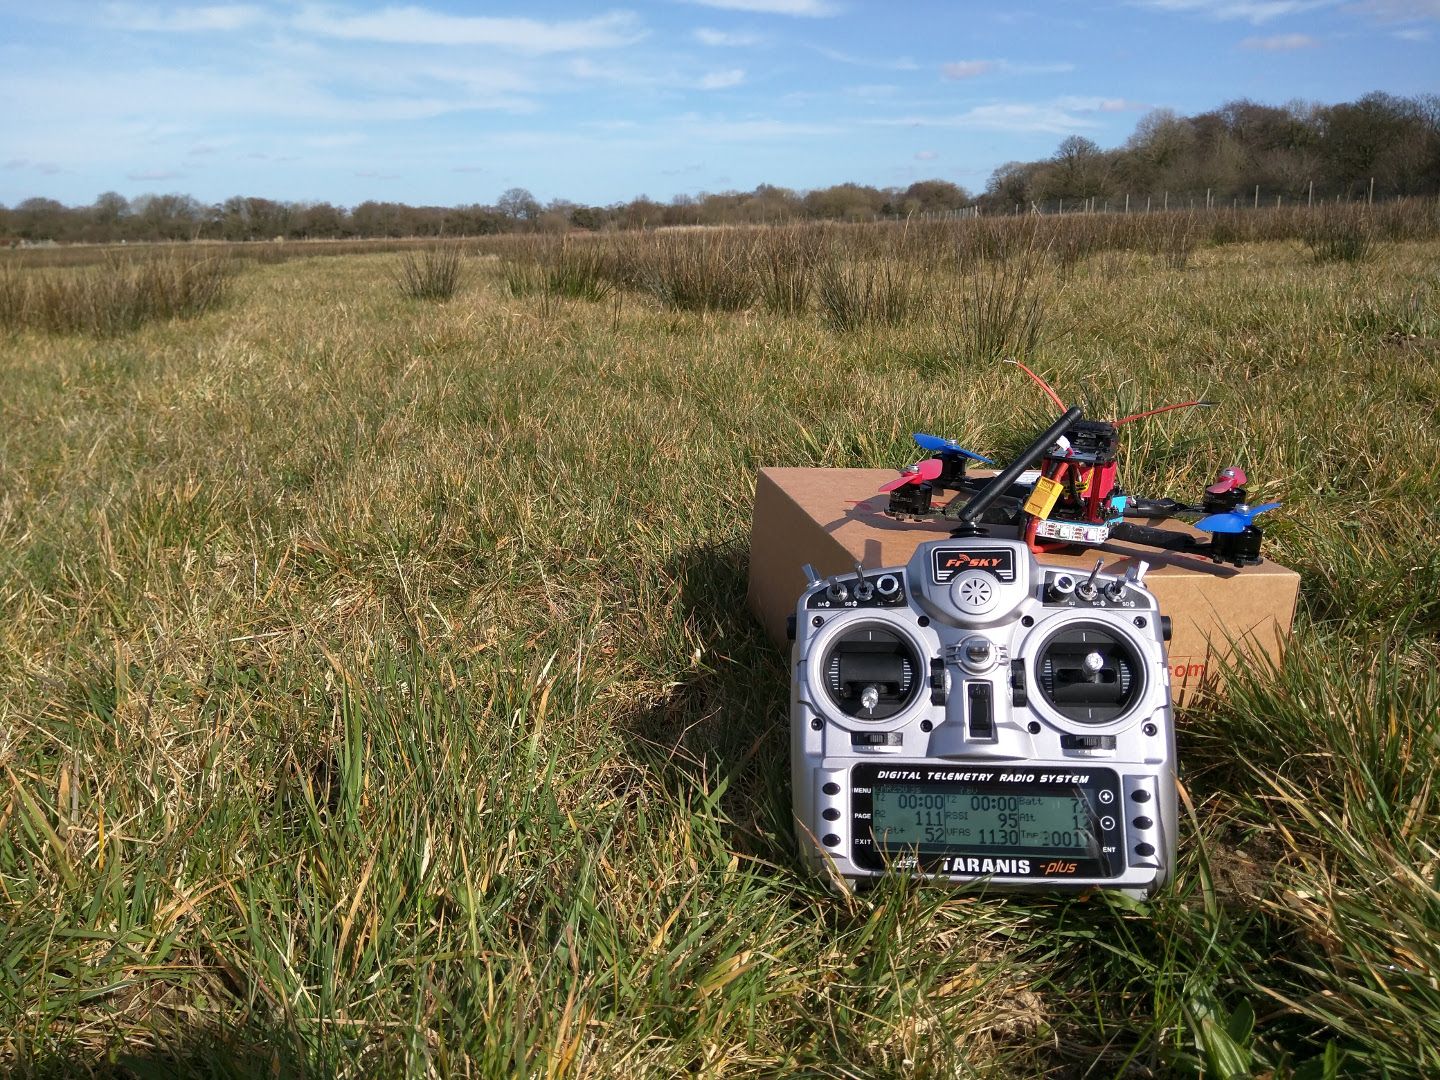
During these flights I crashed a lot.
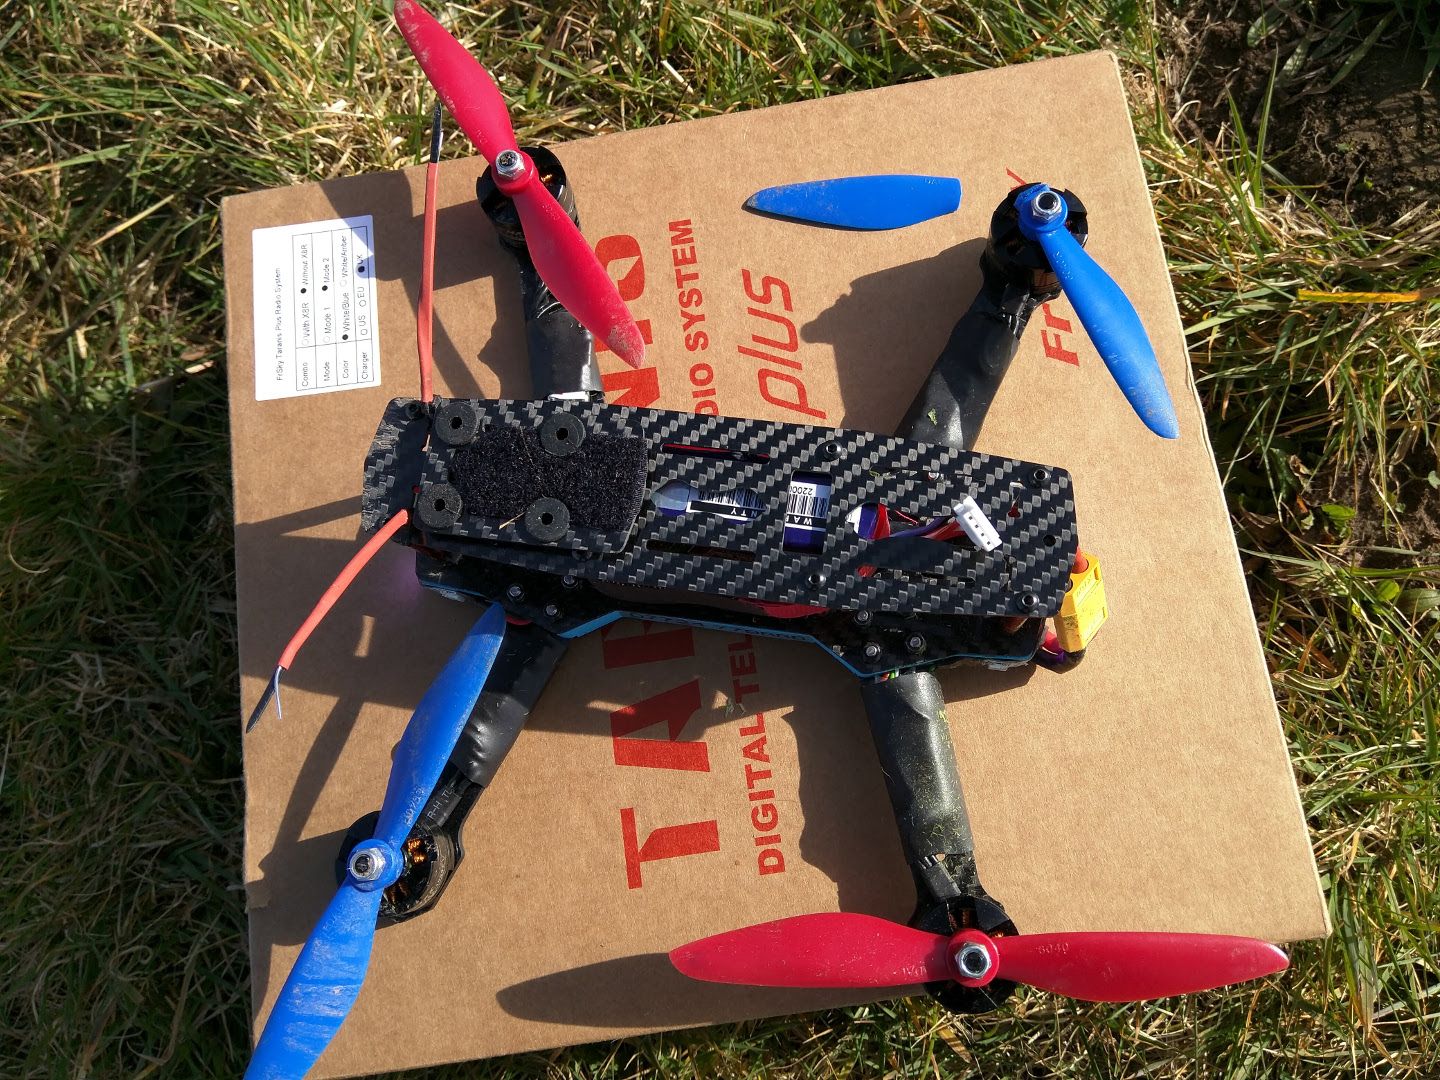
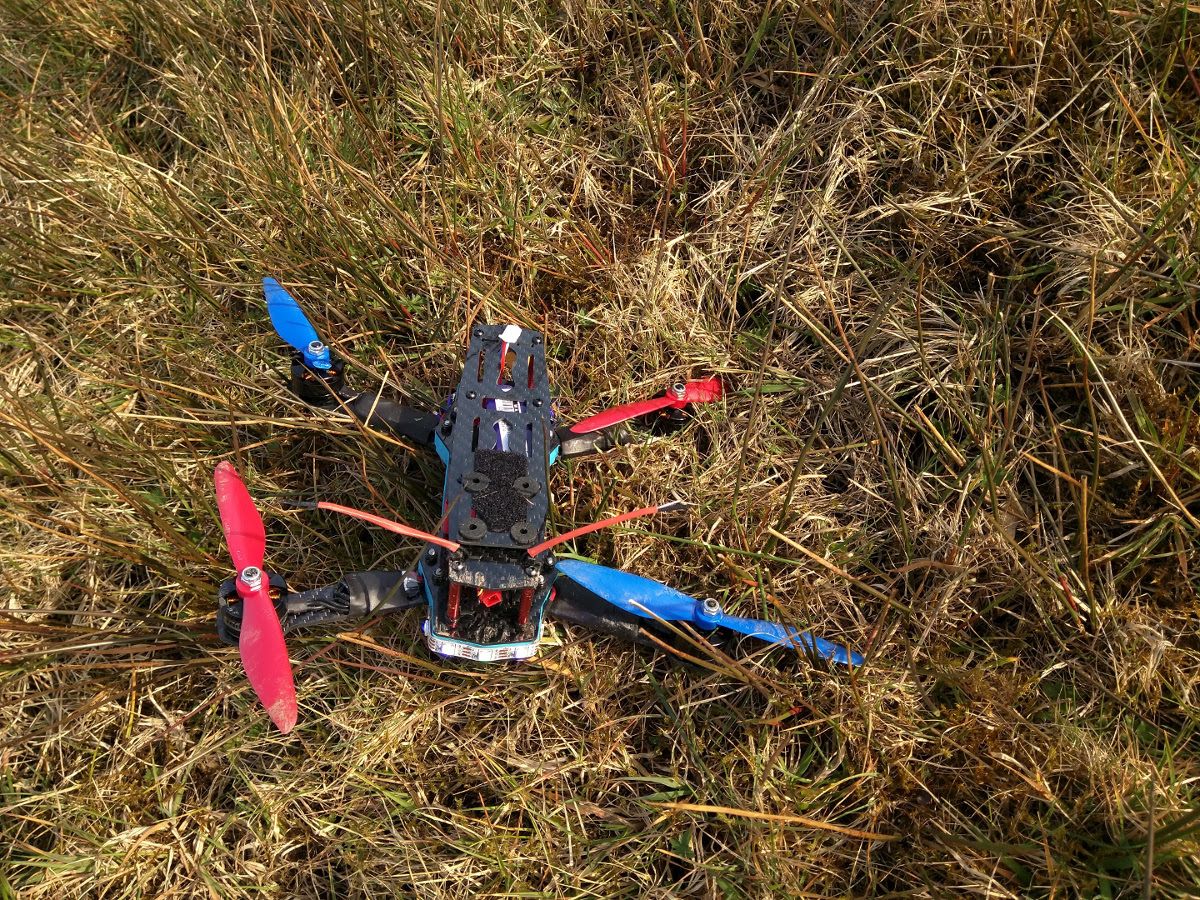
During one of these crashes, I noticed that the battery trap came loose and the battery had slipped back slightly, resulting in slight damage to one of the battery cables.
This lead me to start thinking about a better way to secure the battery.
I had already decided in the previous post to house the battery within the frame, so that it was protected during a crash, but now I needed to ensure that it stayed there.
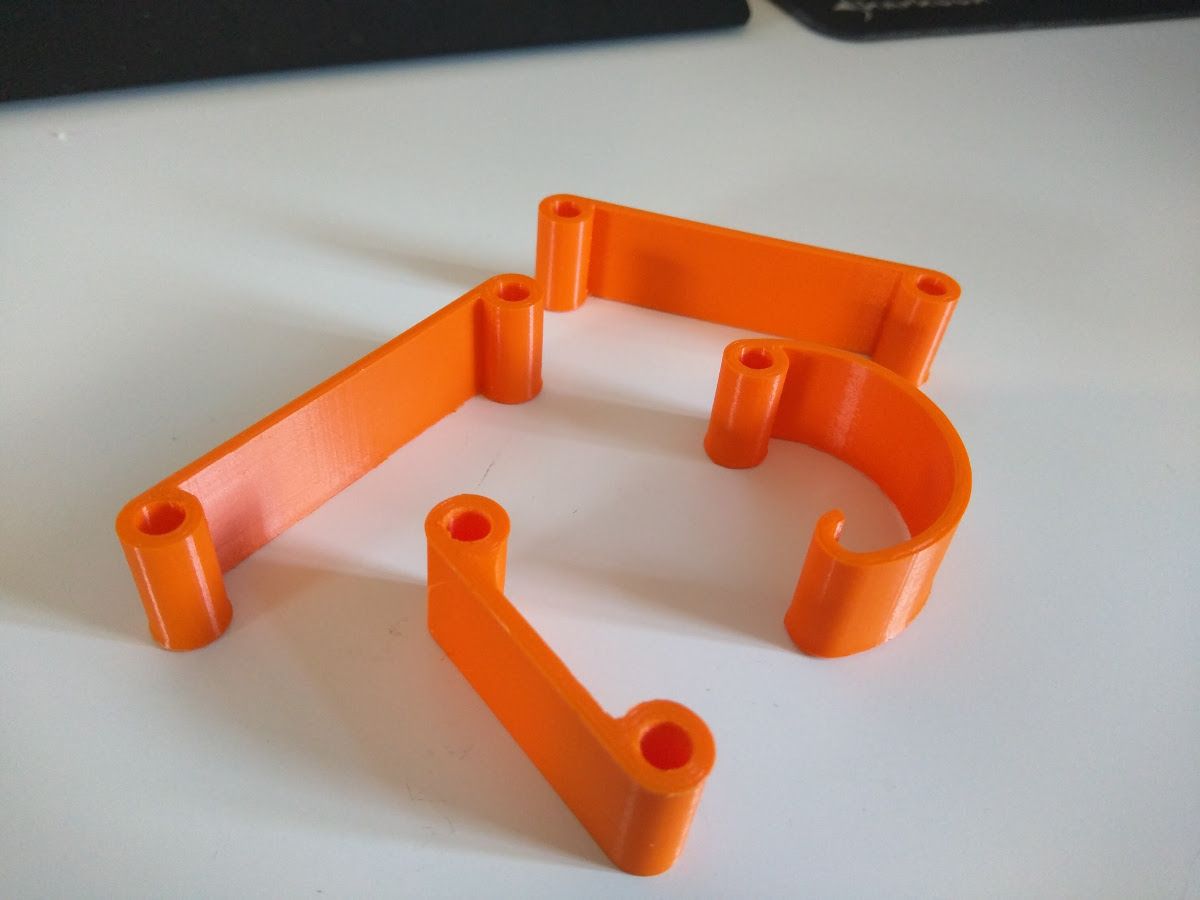
I toyed with a few options until I came up with printing a small cage around it.
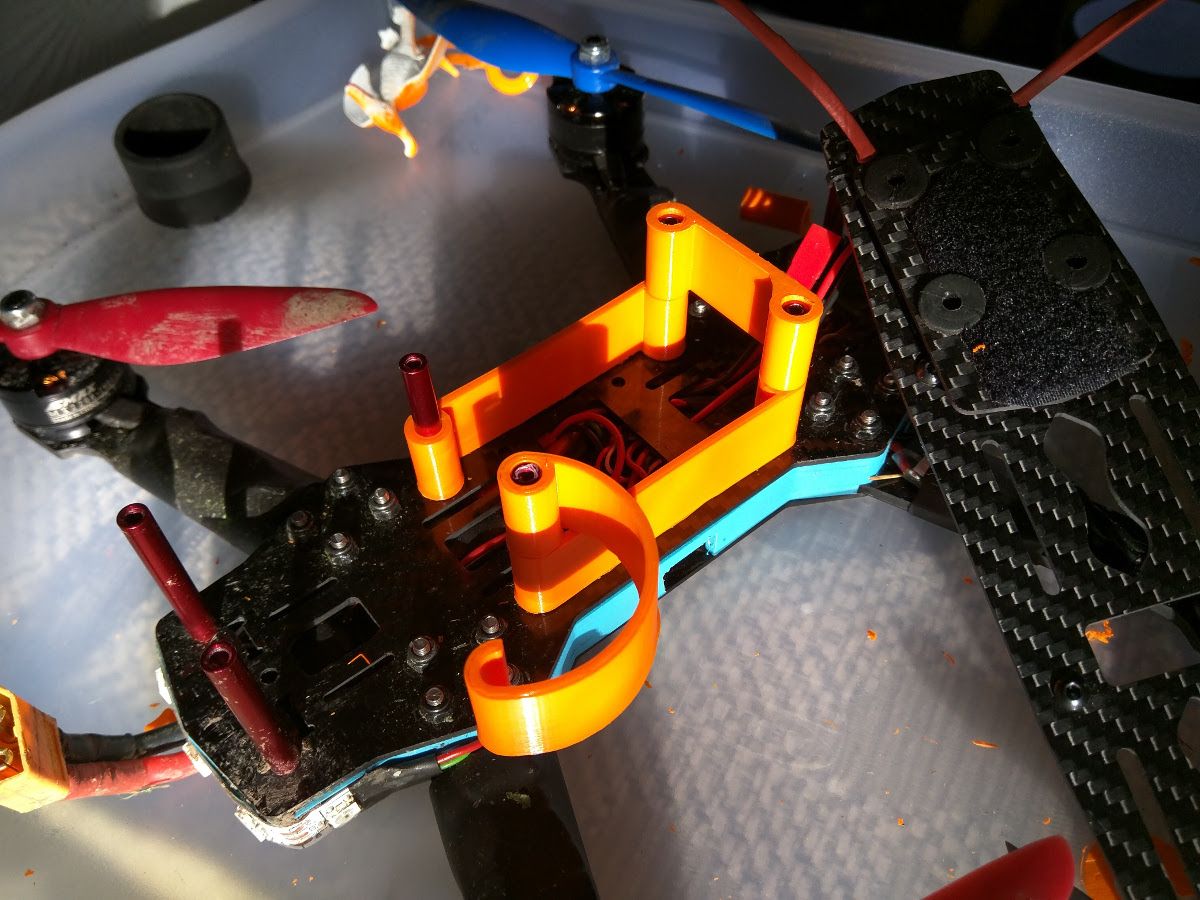
I designed some pieces in OpenSCAD that would fit over the pillars of the frame and create a protective cage.
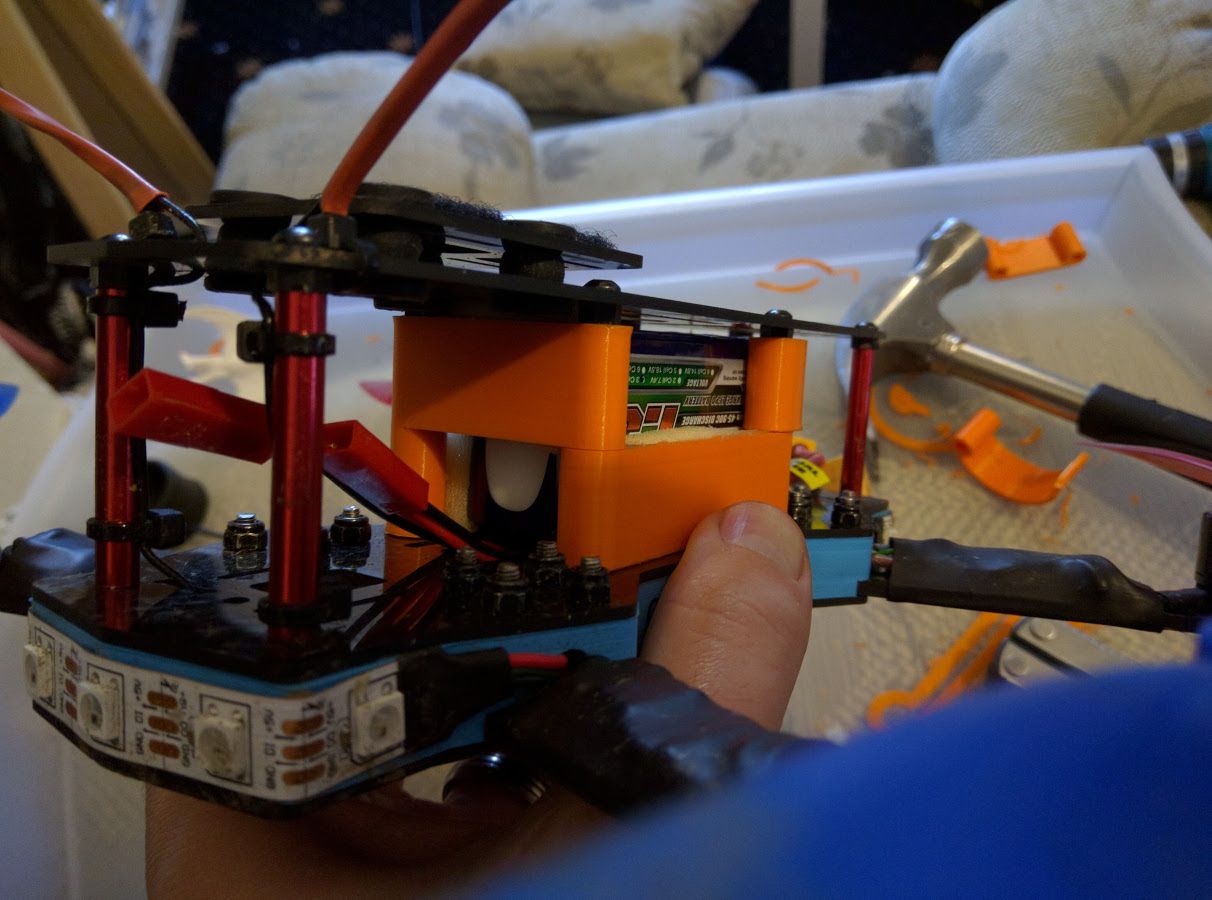
I initially designed it to open from the side, but when I had printed a few pieces, I realised that the battery wouldn't fit in that side, so I had to create the opening part on the back (on the front wasn't an option, since I want to put an FPV camera there eventually).
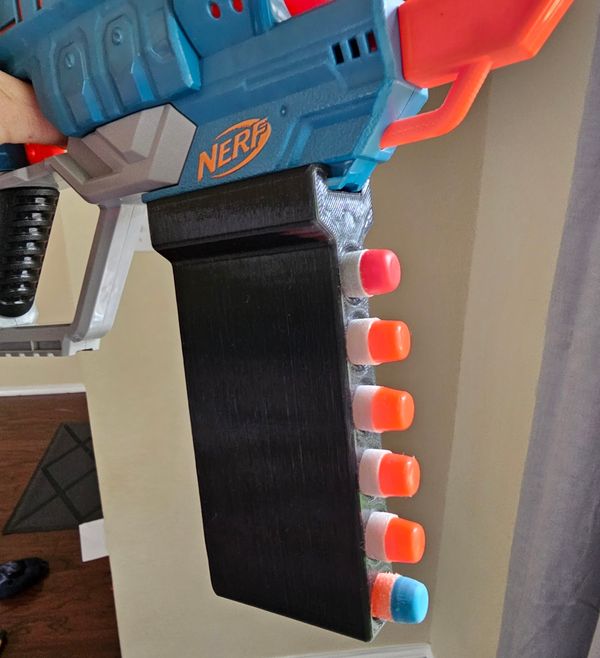
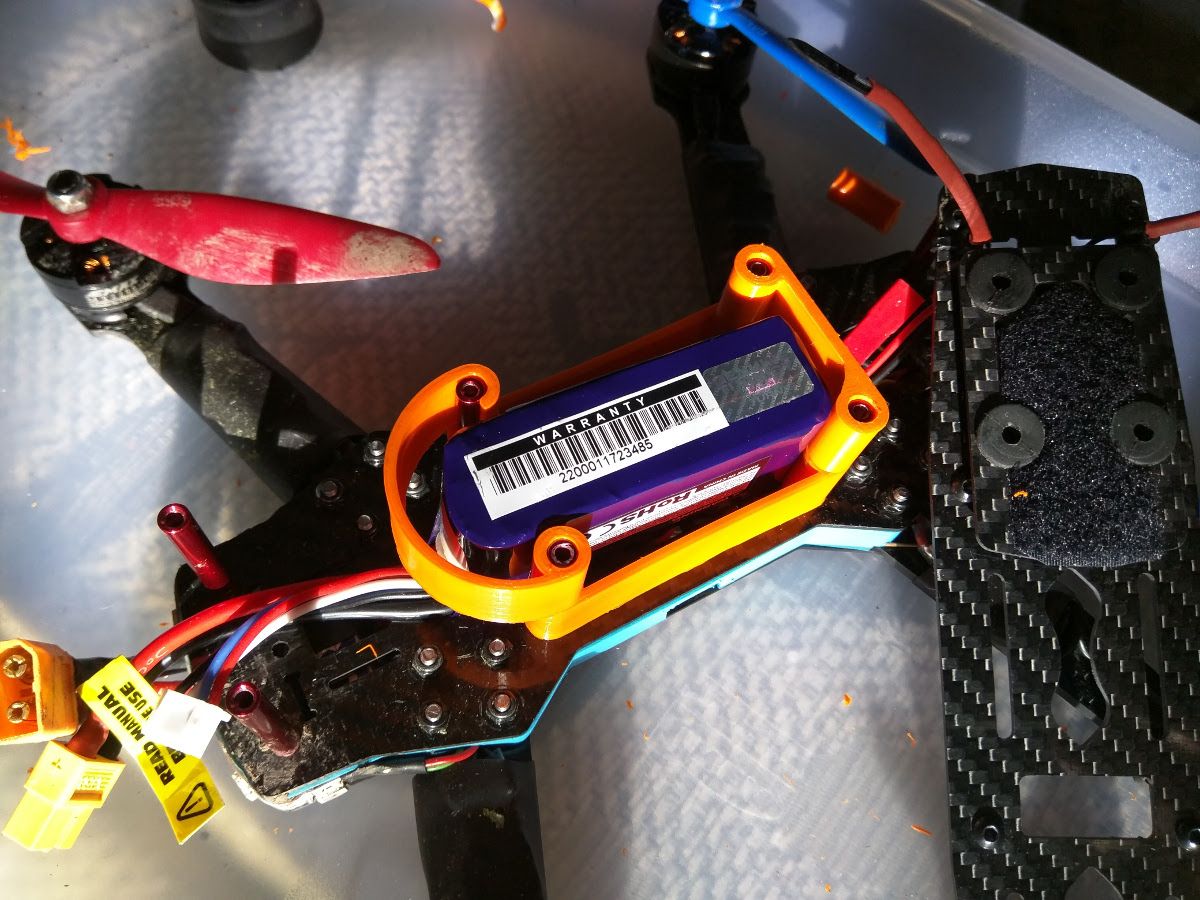
This was the end result:
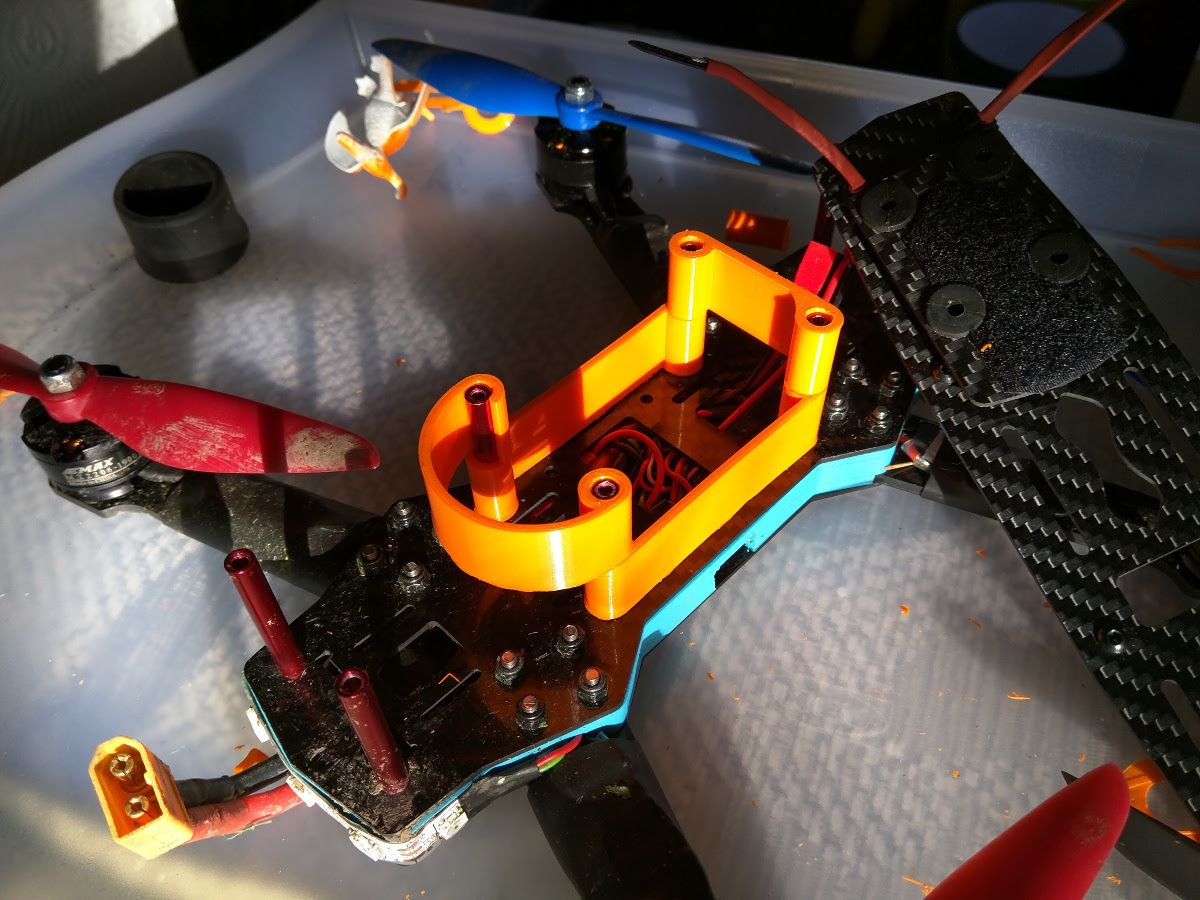
The battery still rattled around a bit, so I glued some foam to the parts that I had printed.

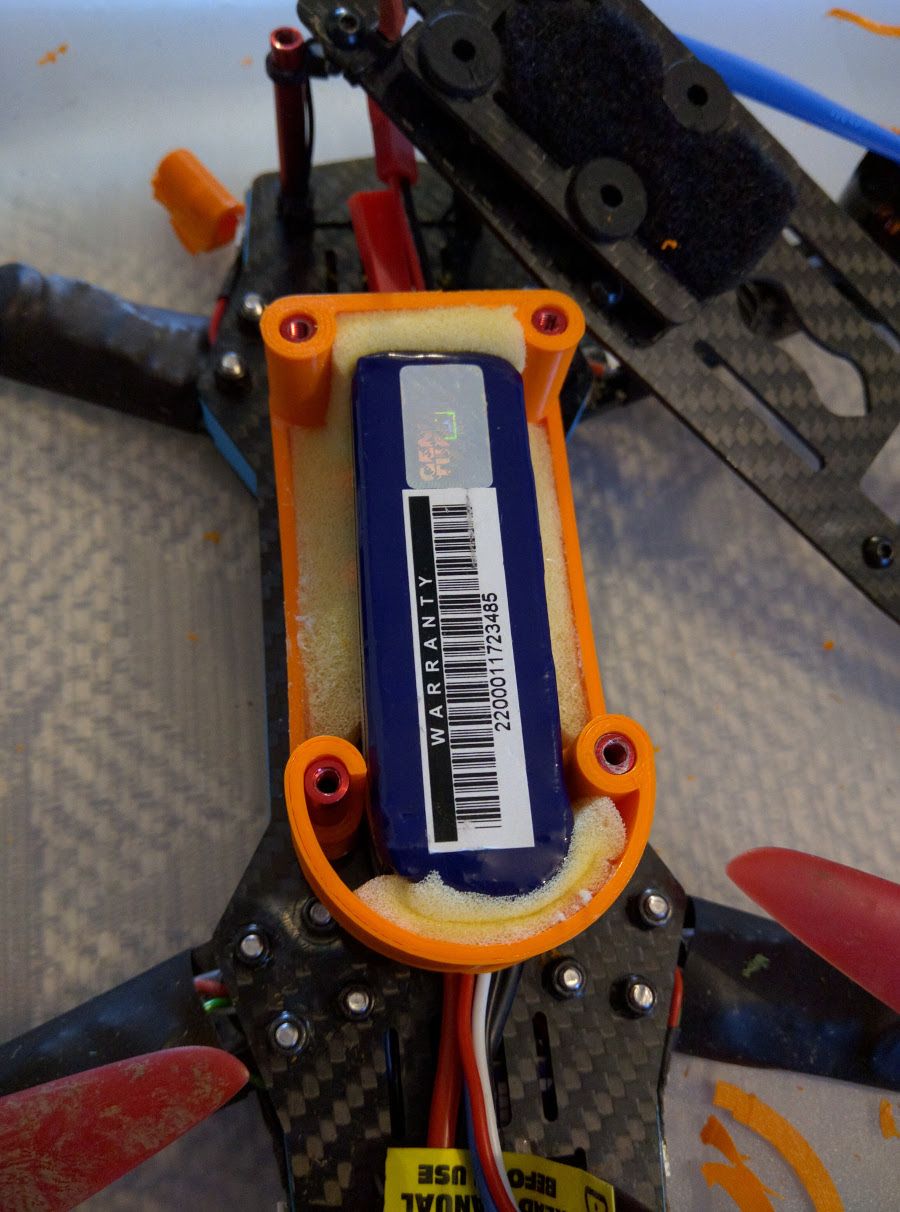
This helped a lot as it keeps the battery from rattling around and also applies enough pressure to the back plate to keep it closed.
I have uploaded the STL files to Thingiverse.
All printing was done on the Ultimaker Original that is on loan to Preston Hackspace.
The OpenSCAD files are uploaded to github as a Gist.