Egg turner - DIY, 3D Printed and Arduino powered
Designed and 3d Printed quail egg turner. Using Sketchup, Ultimaker, and a cheap servo.


How I ended up with quail eggs
A guy from work is convinced that supermarket chicken eggs are fertile/viable and you can incubate them to hatch out chicks.
I called him on it and went looking for evidence online. I didn't find much other than a Dutch guy who hatched a quail from supermarket quail eggs.
(As an aside, this dispute between him and I is ongoing and he bought some supermarket eggs and a cheap eBay incubator to try and prove me wrong.)
So, then I thought: "Quail are cool! We have been wanting to get poultry to have in the backyard for a while..."
So I looked on eBay and lo and behold, you can buy fertilized quail eggs to hatch on your own.
So I bid on some.
I was outbid, but then I realized that I actually really wanted them.
So I bid higher... and won!
About the eggs.
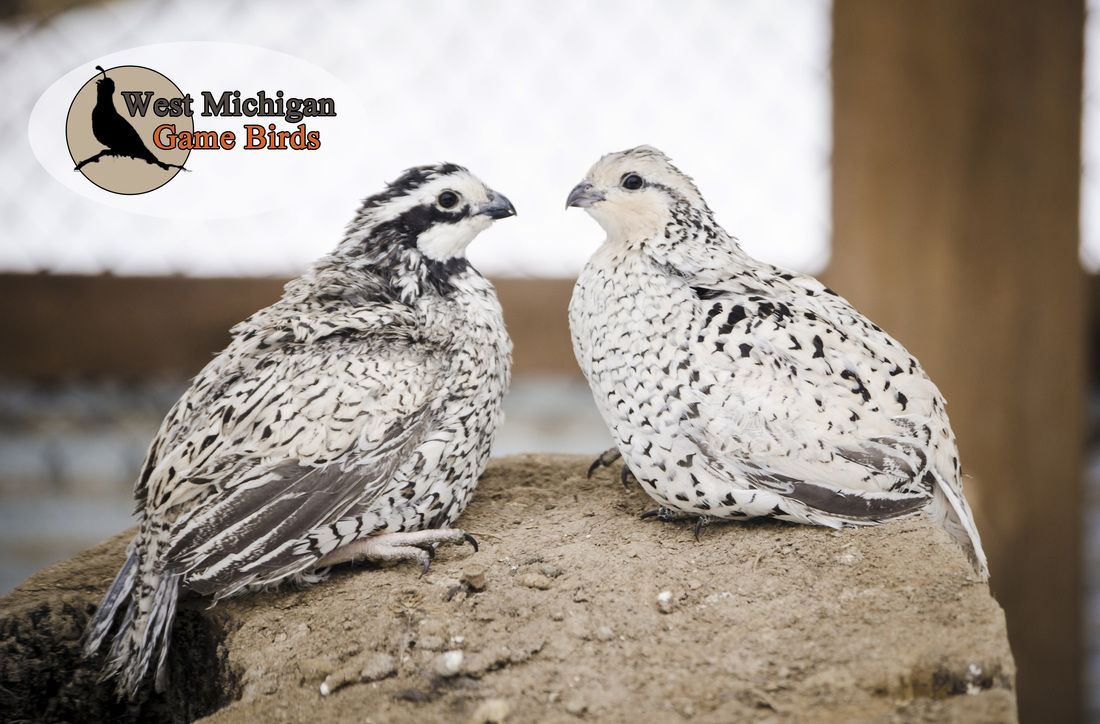
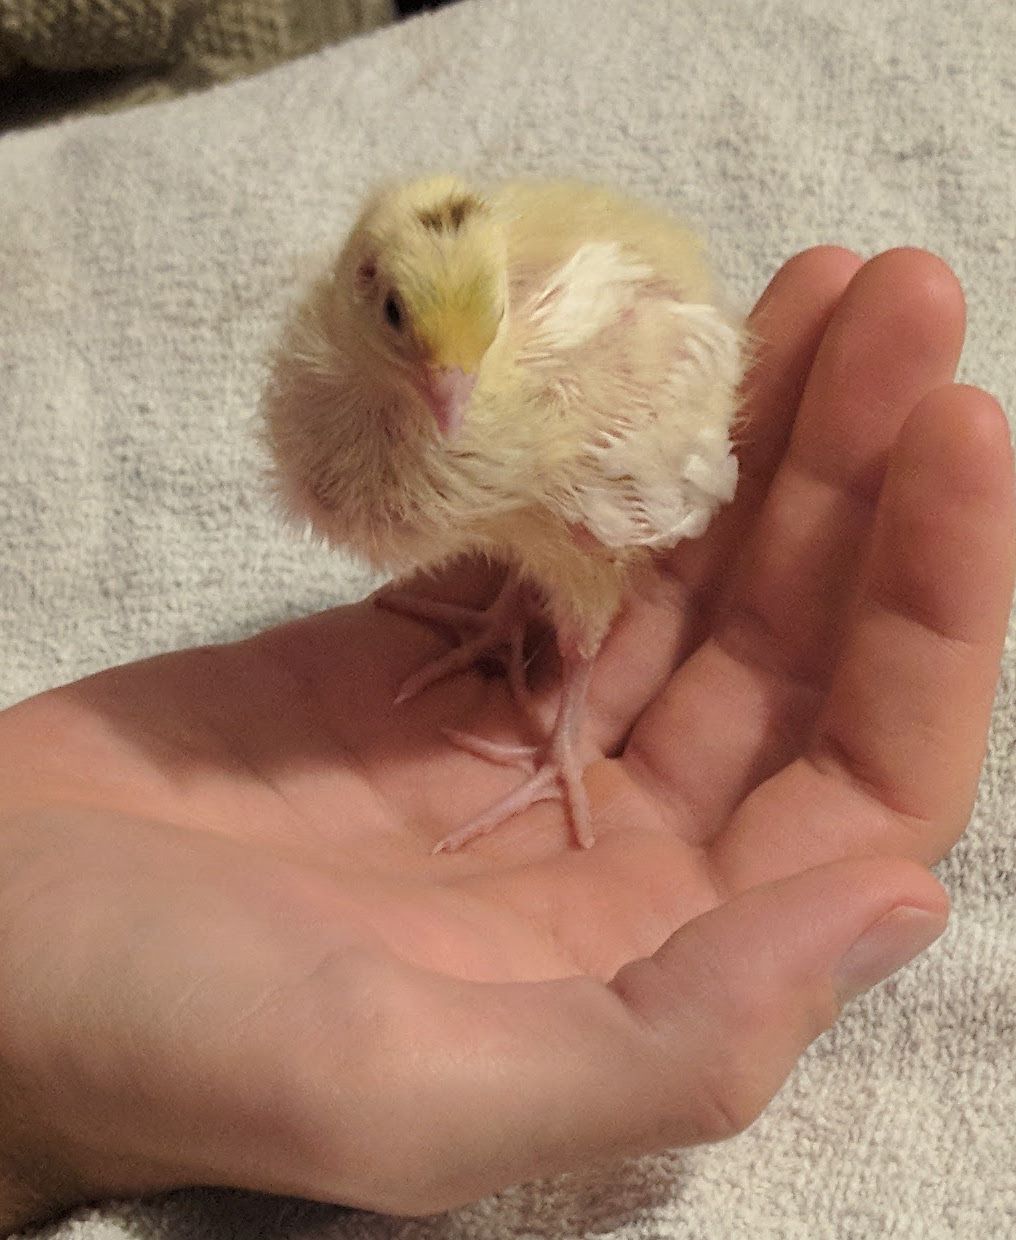
I first bought 6 snowflake bobwhite quail eggs, because they look awesome as adults.
I went through the whole incubation process with them and they never hatched.
It turns out that my incubator thermostat was a few degrees out and they weren't at the right temperature.
This temperature issue inspired me to create a temperature tweet bot and a photo tweet bot in a separate project.
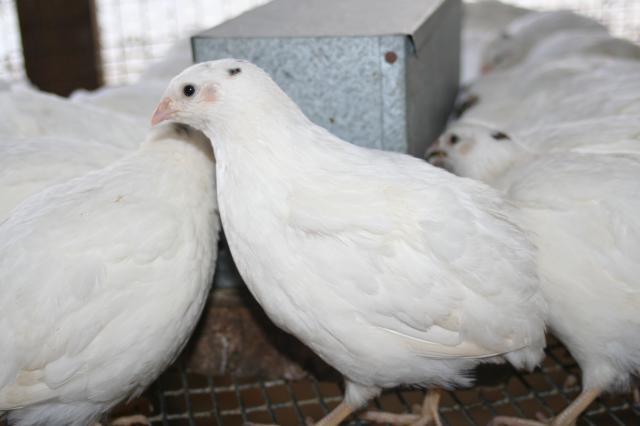
So I ordered more eggs, but this time of the domesticated Coturnix quail type, although a line that was bred to be massive and white and also look pretty cool.
Anyway, that's why I went from 6 to 12 eggs halfway through this project and why the eggs seem to change colour.
Also, I made the egg turner for the first batch of 6 and it can only fit 10 eggs, but you can only order eggs in multiples of 6, so I had to leave 2 eggs out of the turner for the second batch.
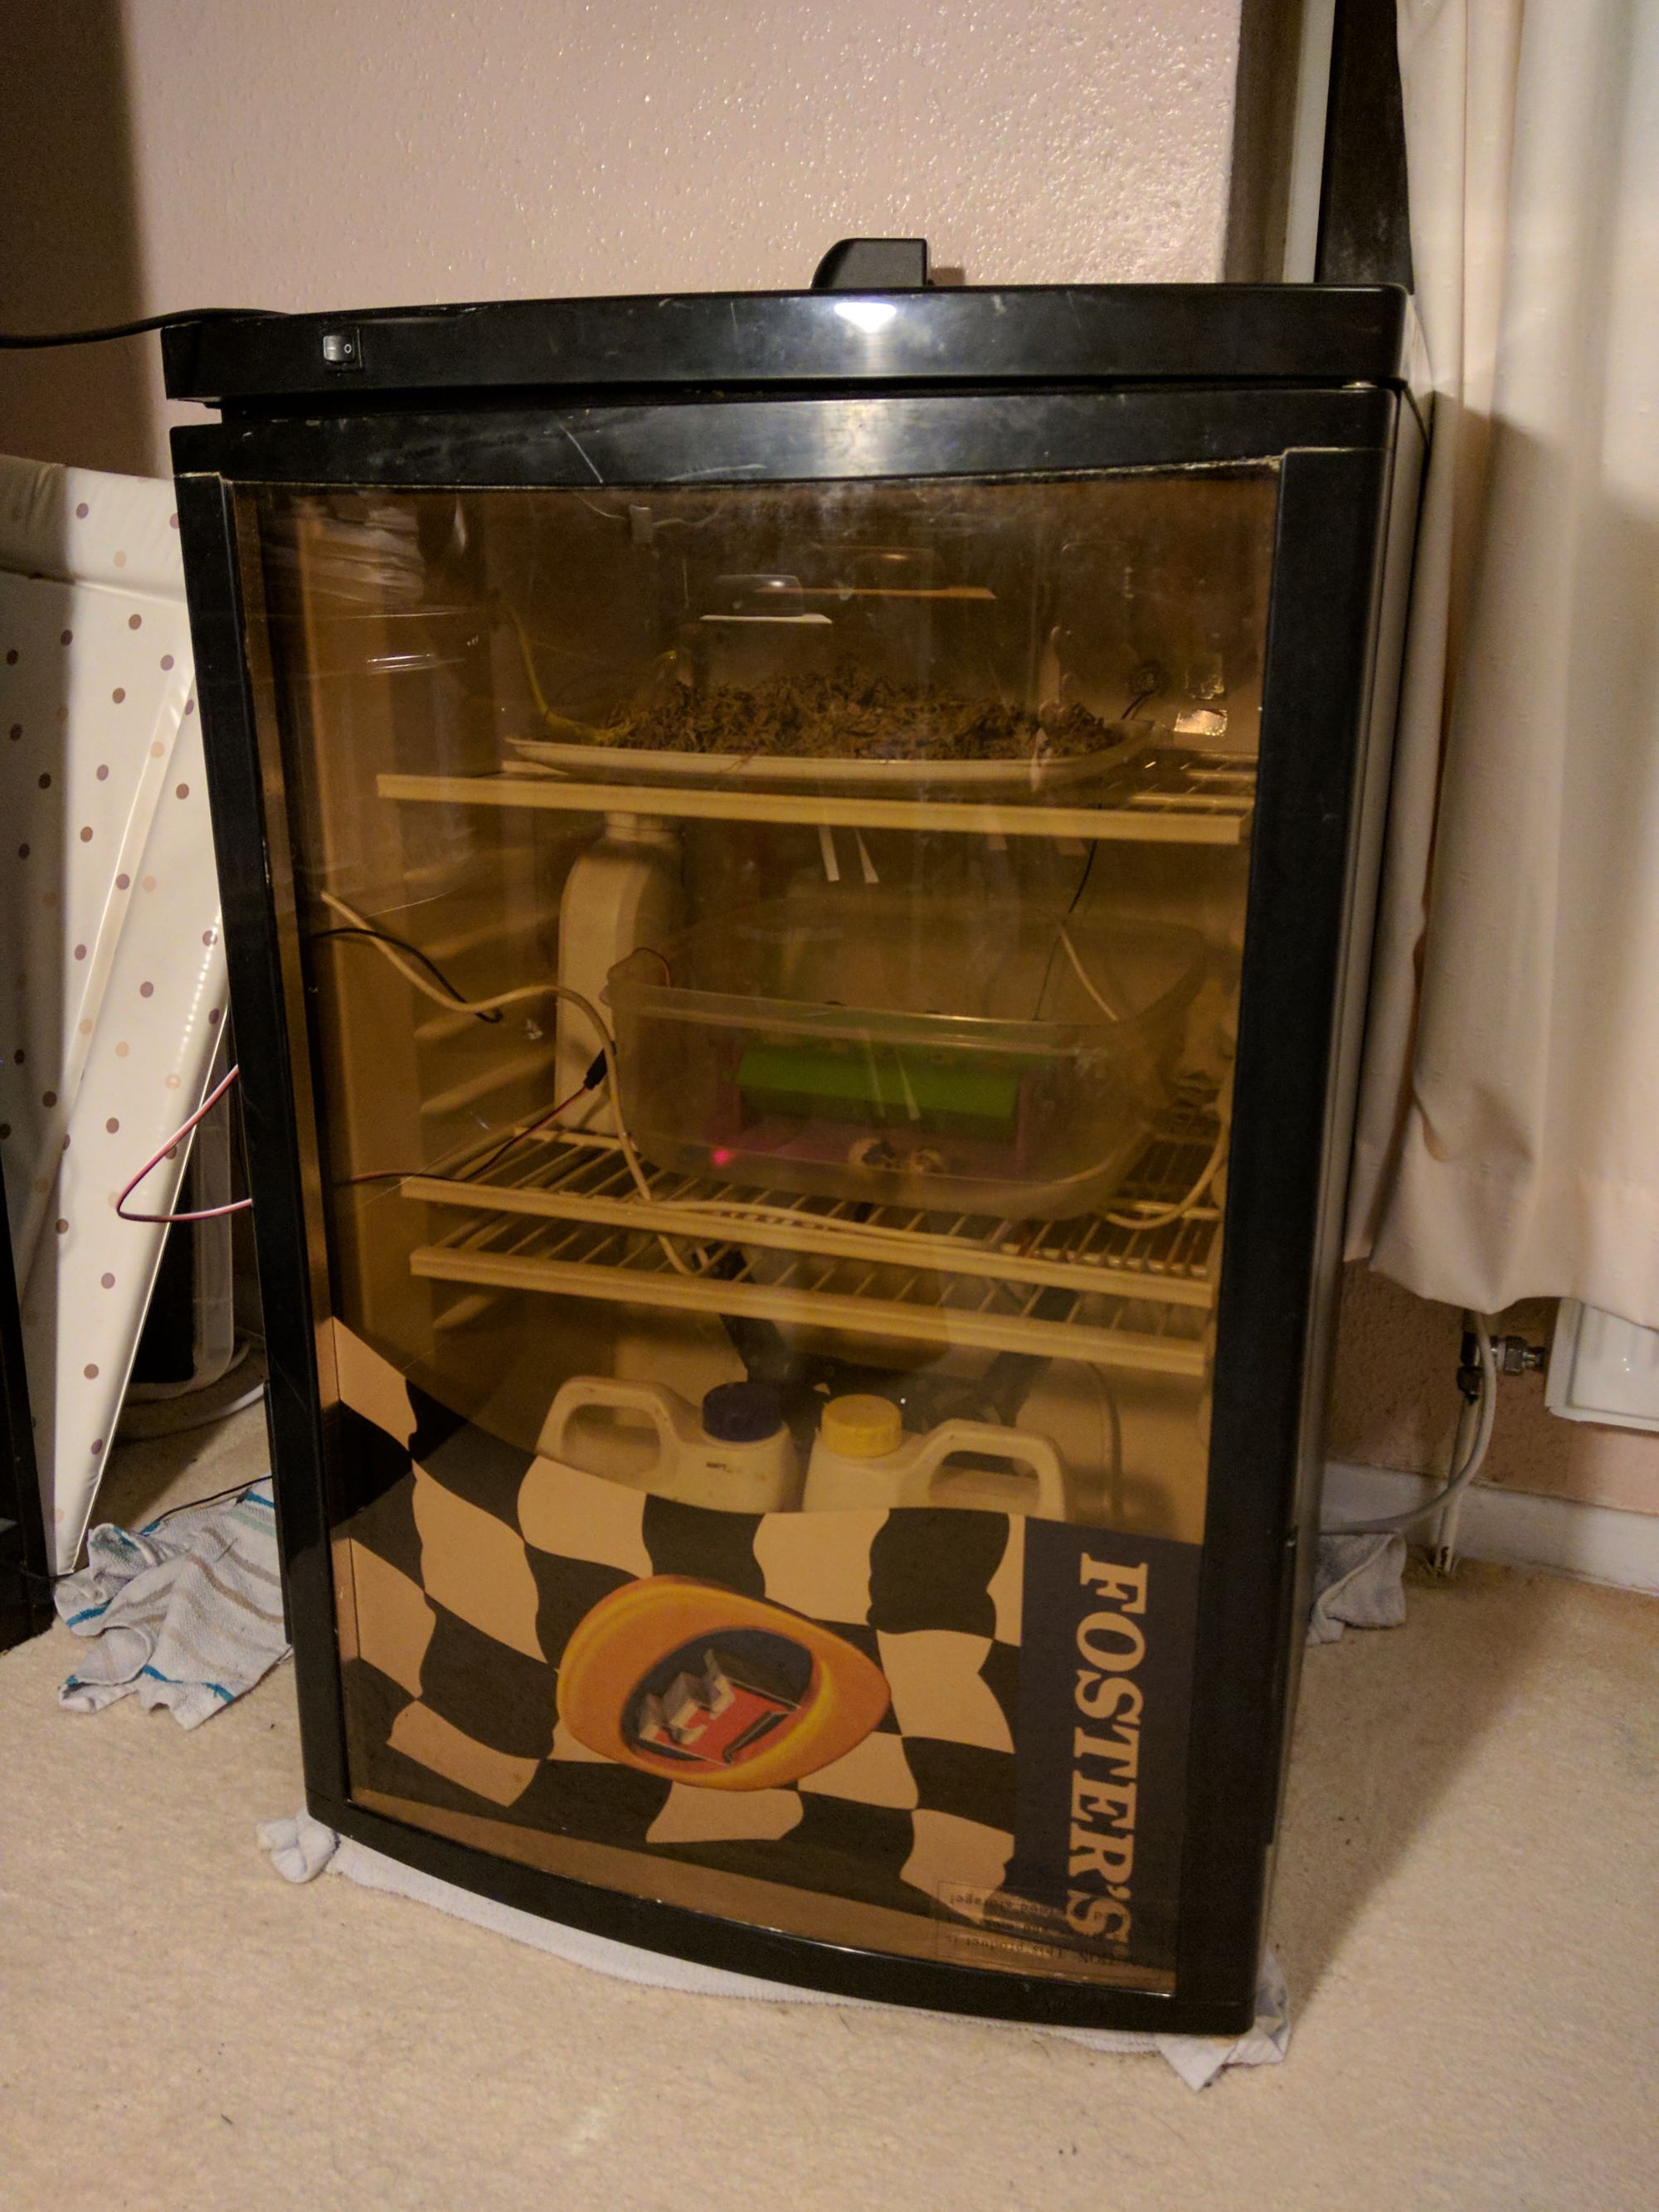
Incubating the eggs
I already had an incubator for reptile eggs, so I just set it higher for bird eggs and was turning them manually 3 times a day.
Being a developer, I get bored with repetitive tasks and feel the urge to automate them.
That's why I needed an egg turner.
The options available to buy
There are some cheap egg turners available on eBay.
But when I looked up reviews on them, I only found people complaining about how terrible they were.
Also, they used stepper motors which seemed a bit overkill for what was needed.
All that is needed is to rotate backwards and forwards, less than 180°.
My idea
It occurred to me... servos!
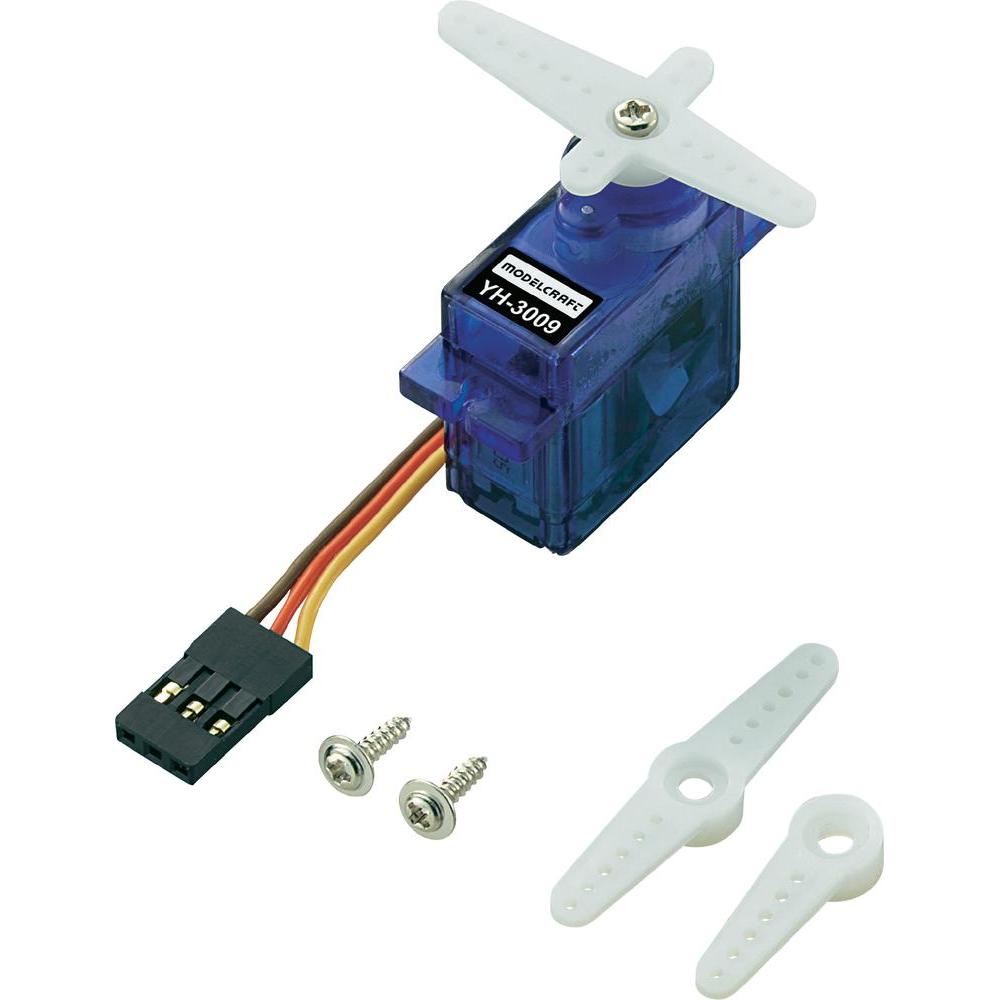
Servos are perfect for this application, they require little power, are easy to drive and only turn 180°.
So with that, I got to work designing a quail egg turner that would be powered by a servo.
I had several considerations when designing the mechanism:
- It needed to fit a servo
- The servo needed to be powerful enough to handle the torque of moving the eggs around
- It needed to be smaller than 20cm in all dimensions so that it could print out on the Ultimaker Original that was loaned to us at Preston Hackspace
- It needed to fit quail eggs
- I only had 6 eggs, but wanted to have space for a few more eggs, just in case.
Proof of Concept
Before I got any hardware out, I wanted to get a quick idea of the code necessary to make the servo work the way I wanted.
After a quick search online I found that tinkerCAD has a circuit editor that lets you mock and test arduino projects virtually.
I signed up and within a few seconds had a basic proof of concept of what I needed to control my egg turning servo.
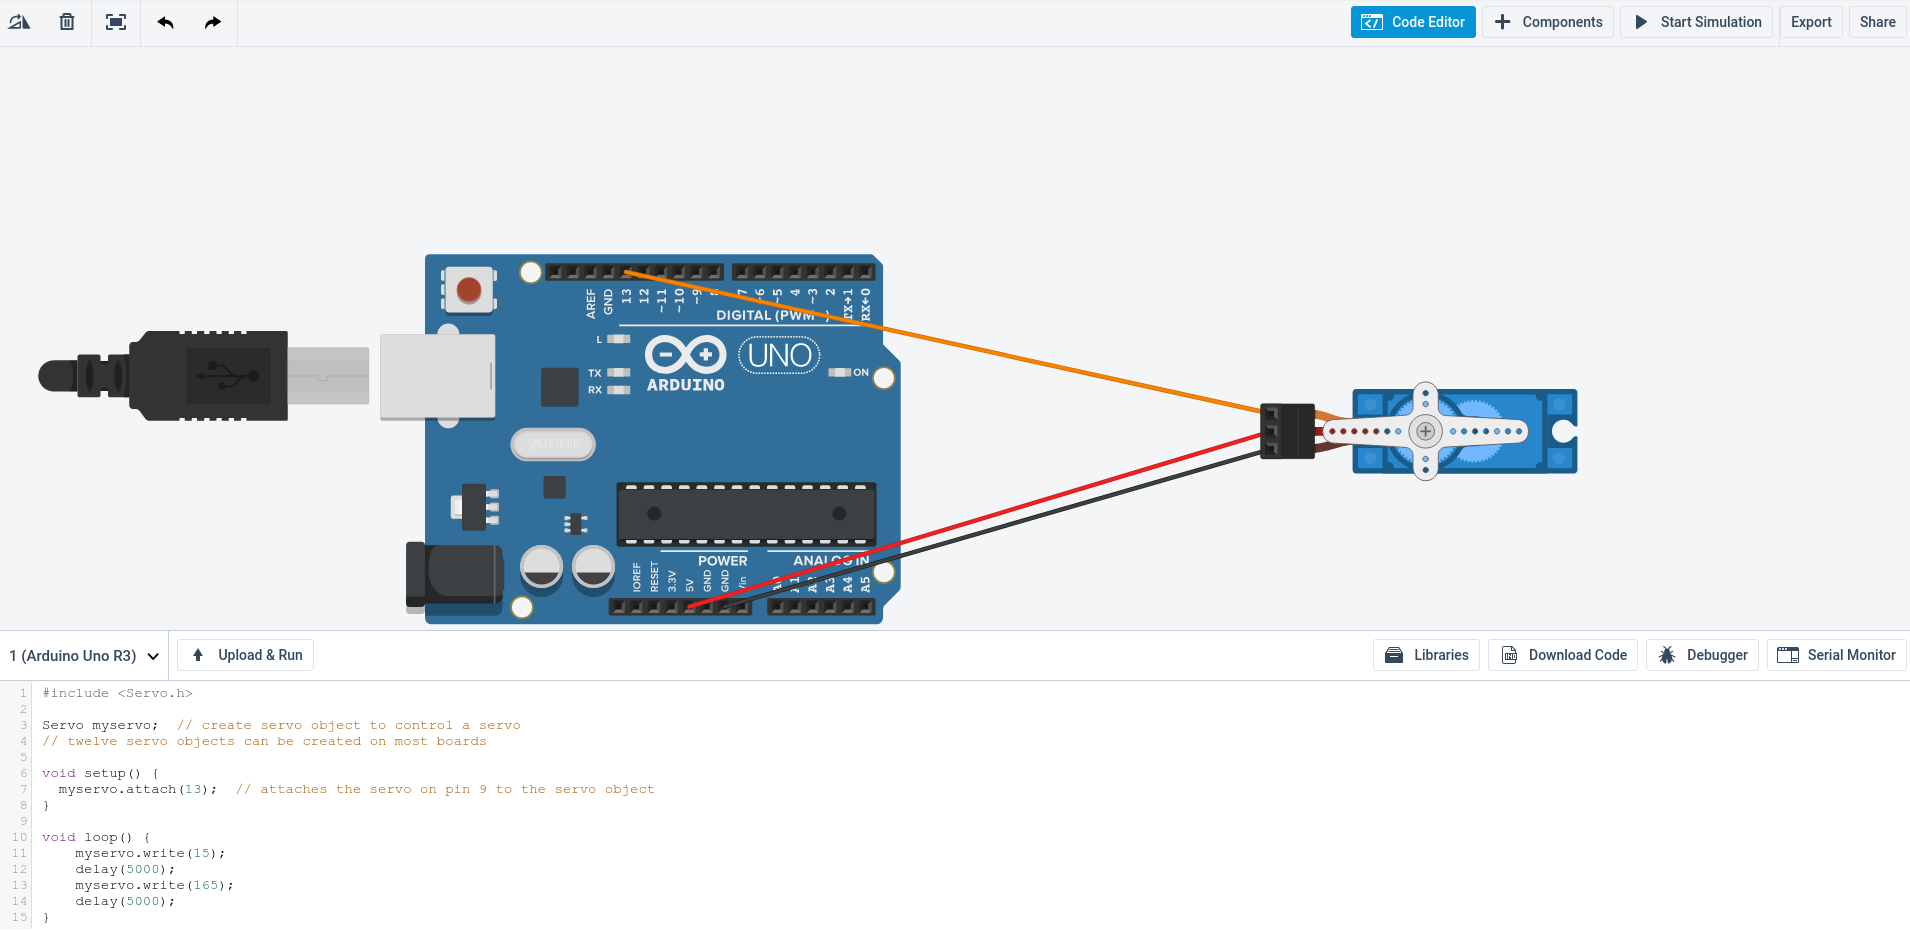
It was cycling a bit fast, so I ended up tweaking it to the following:
#include <Servo.h>

Servo myservo;  // create servo object to control a servo
// twelve servo objects can be created on most boards

int delayTime = 1000 * 60 * 60 * 2; // 2 hour delay
// int delayTime = 1000 * 5; // 3 second delay

int pos = 0;    // variable to store the servo position

int servoMin = 45;

int servoMax = 135;

void setup() {
  myservo.attach(2);  // attaches the servo on pin 9 to the servo object
}

void moveSlowly(int from, int to, Servo servo) {
  int increment = 1;
  int current = from;
  if (from > to) {
    increment = -1;
  }
  while (current != to) {
    current = current + increment;
    servo.write(current);
    delay(50);
  }
}

void loop() {
  moveSlowly(servoMax, servoMin, myservo);
  delay(delayTime); // wait delayTime
  moveSlowly(servoMin, servoMax, myservo);
  delay(delayTime); // wait delayTime
}
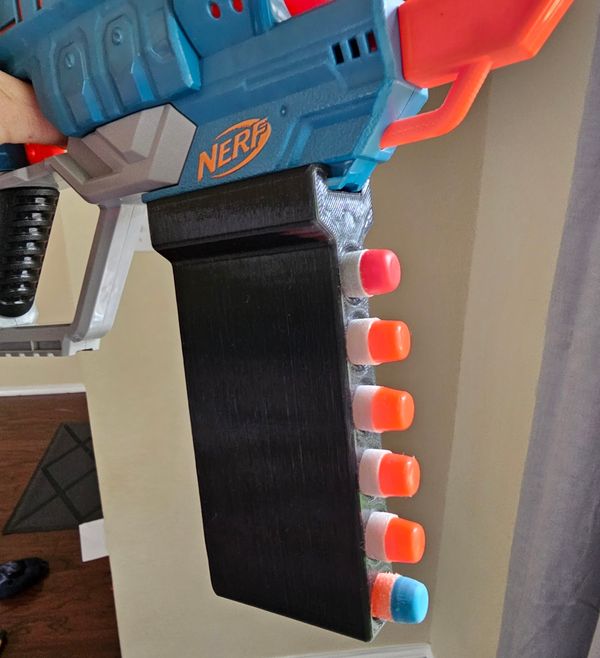
The Design
I spent an open night at the hackspace fiddling with SketchUp to get the basic design down and then the following night at the CodeUp meeting at the hackspace I put the finishing touches on my design.
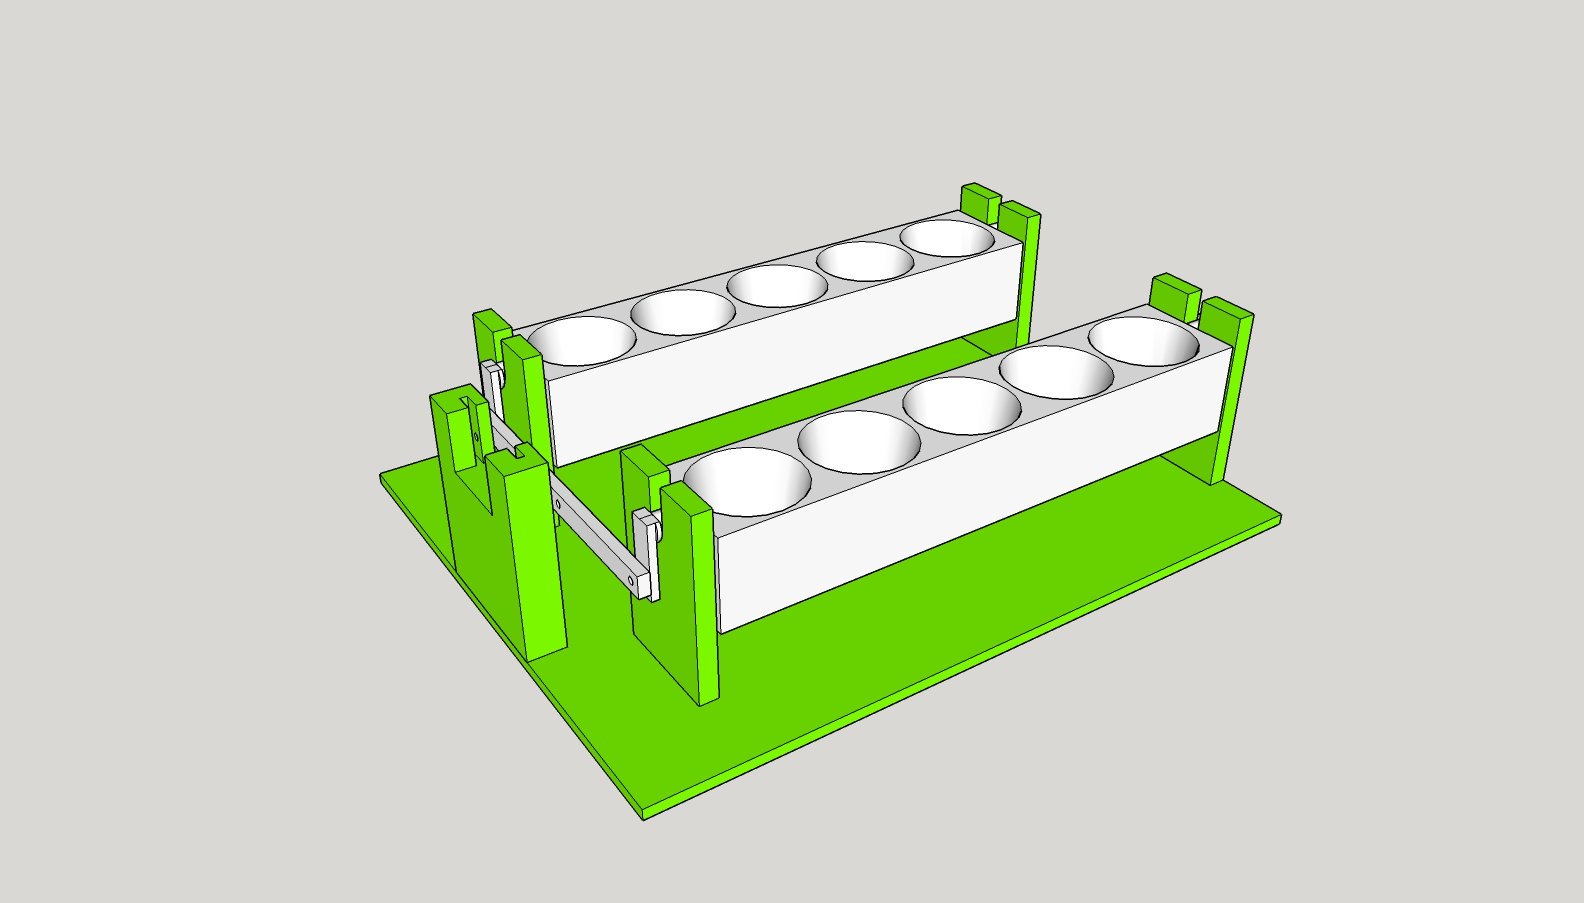
There are 3 different parts.
The base
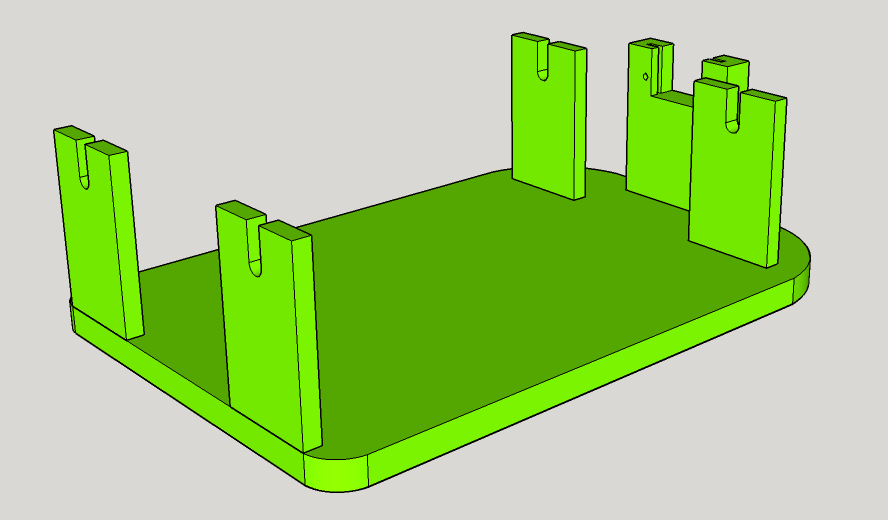
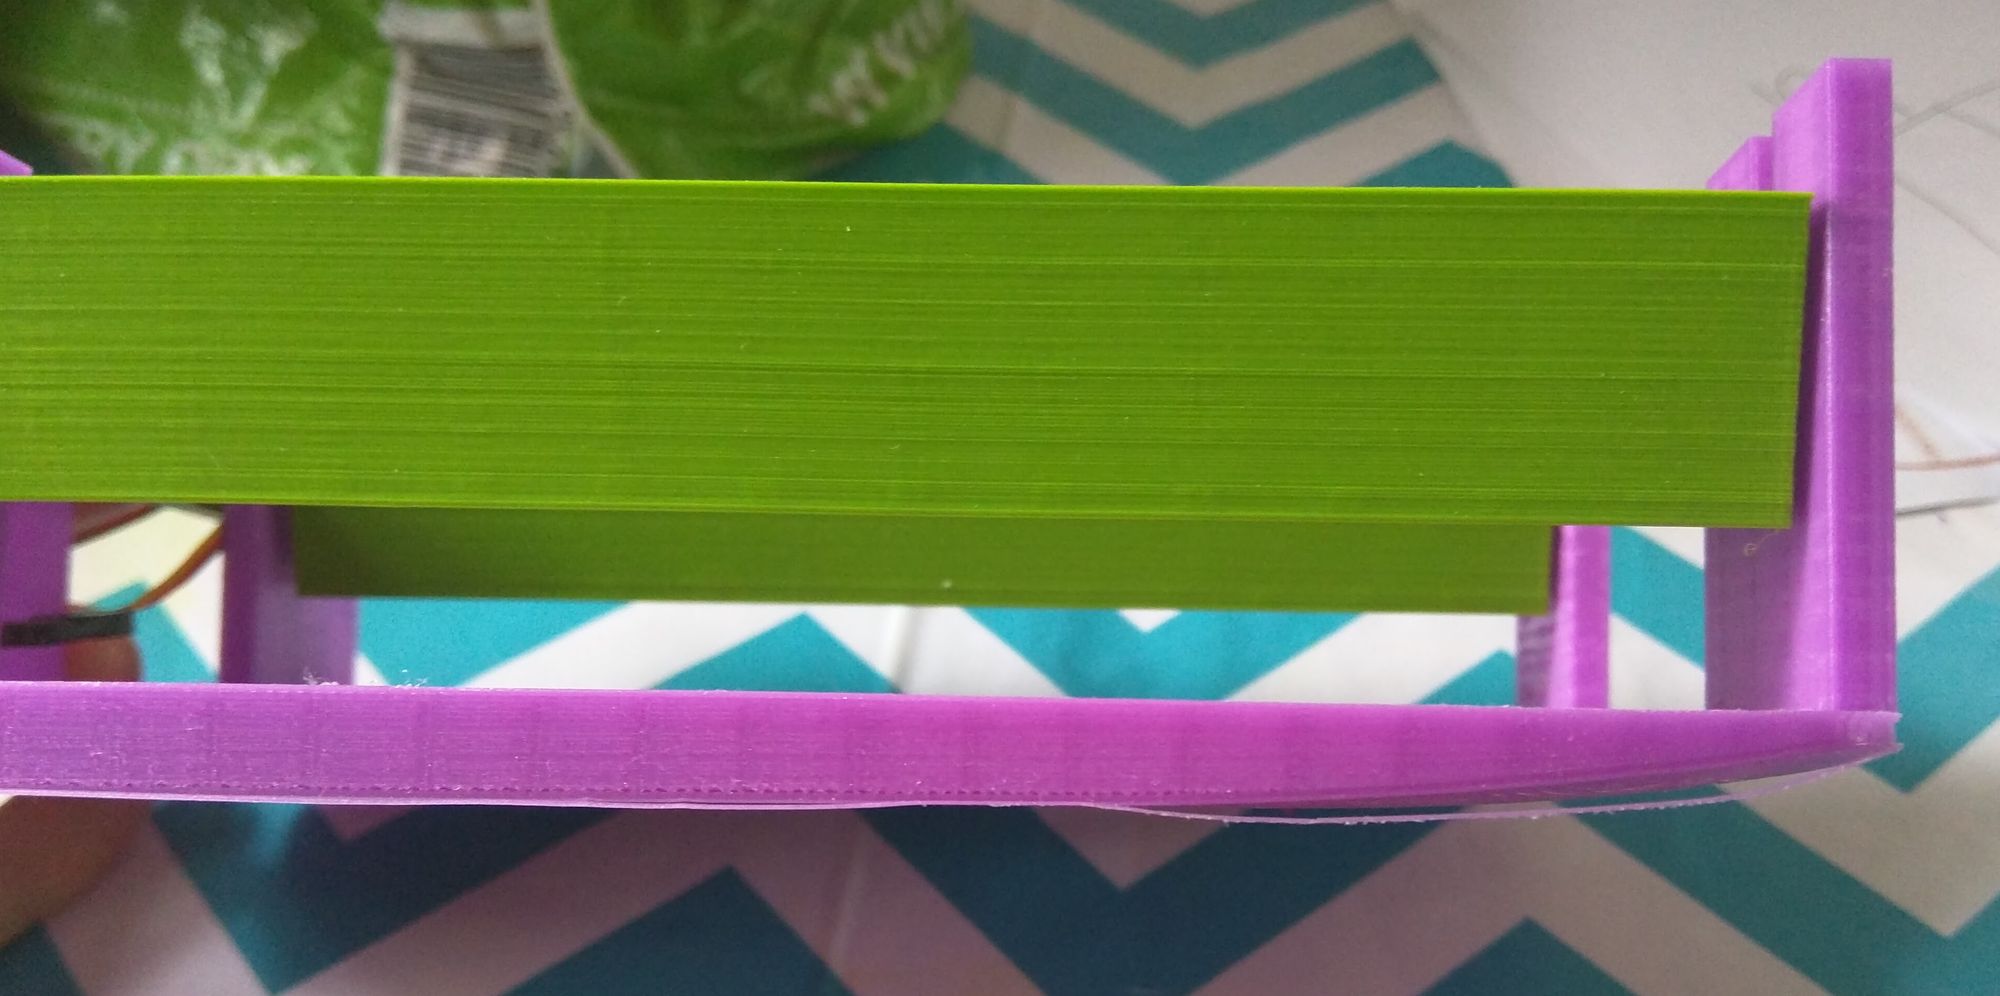
The base holds all the pieces.
The egg cups
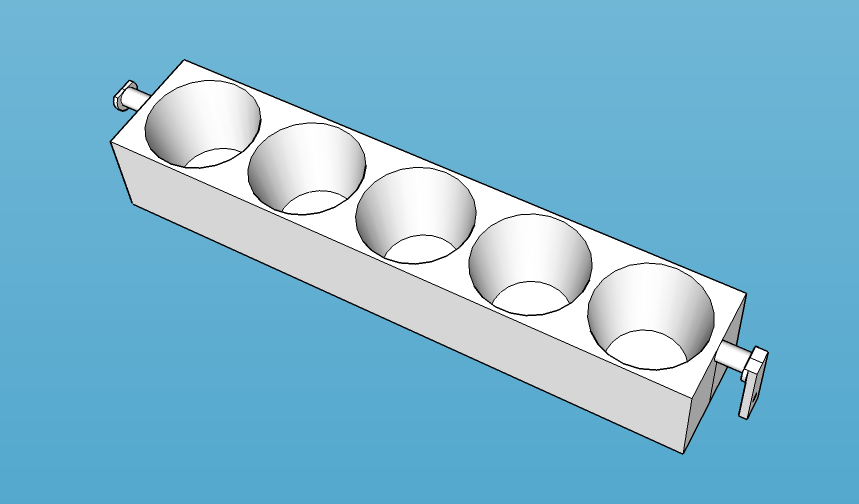
These hold the eggs.
I originally designed it to fit 6 eggs each, but after measuring the individual eggs, I found that I had to make the holes bigger and could only fit 5 eggs in.
These egg holders make the design modular, as I could print larger ones for chicken eggs and still use the same base.
These were printed upside down with support for the inside of the holes.
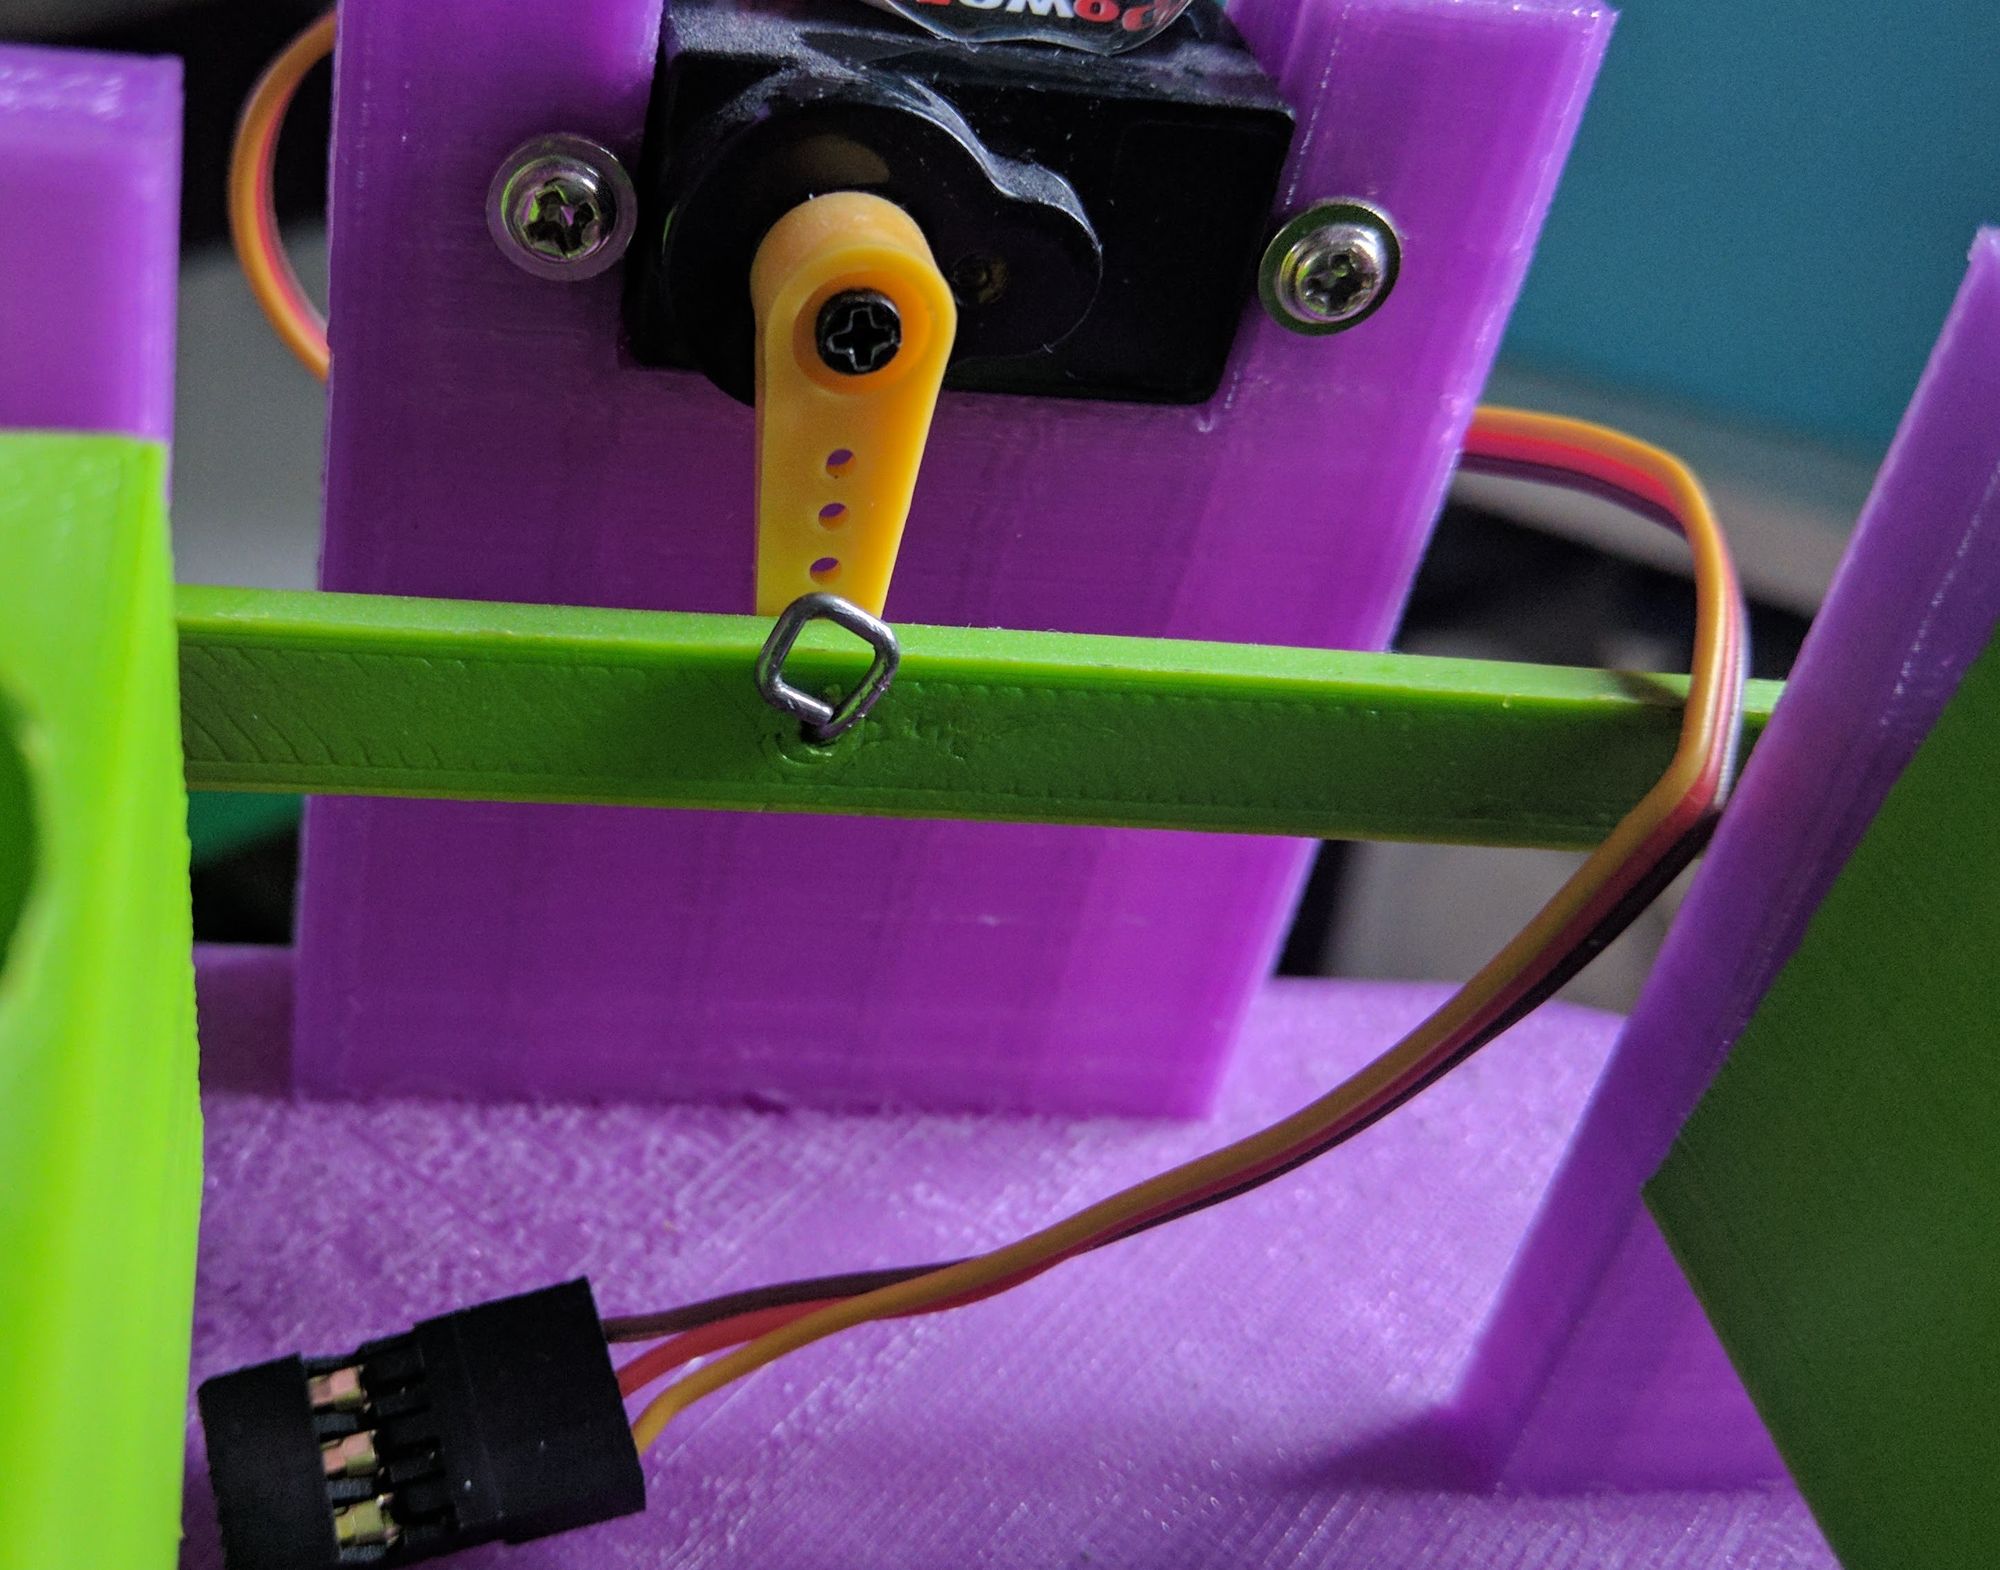
The crossbar
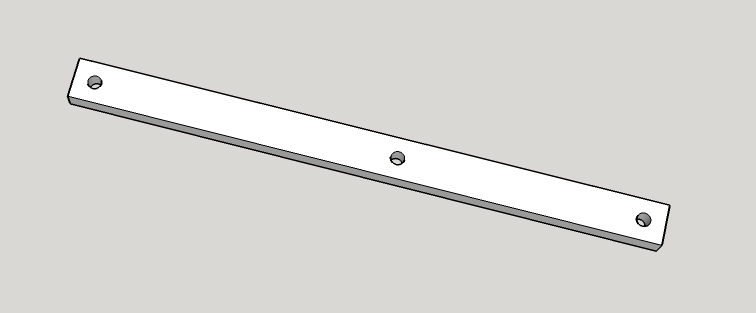
The crossbar transfers the rotational movement from the servo horn to the egg holders to turn them.
This part was really simple and printed quickly.
Printing the parts
The relevant model files are available for download on Thingiverse.
The 3D printing of most of the parts was uneventful, but I had a lot of trouble with the base as it did not want to stick to the print surface.
After fighting with it for a while, I left it to print. It lifted anyway, but it didn't affect the function of the part, so I just went with it.
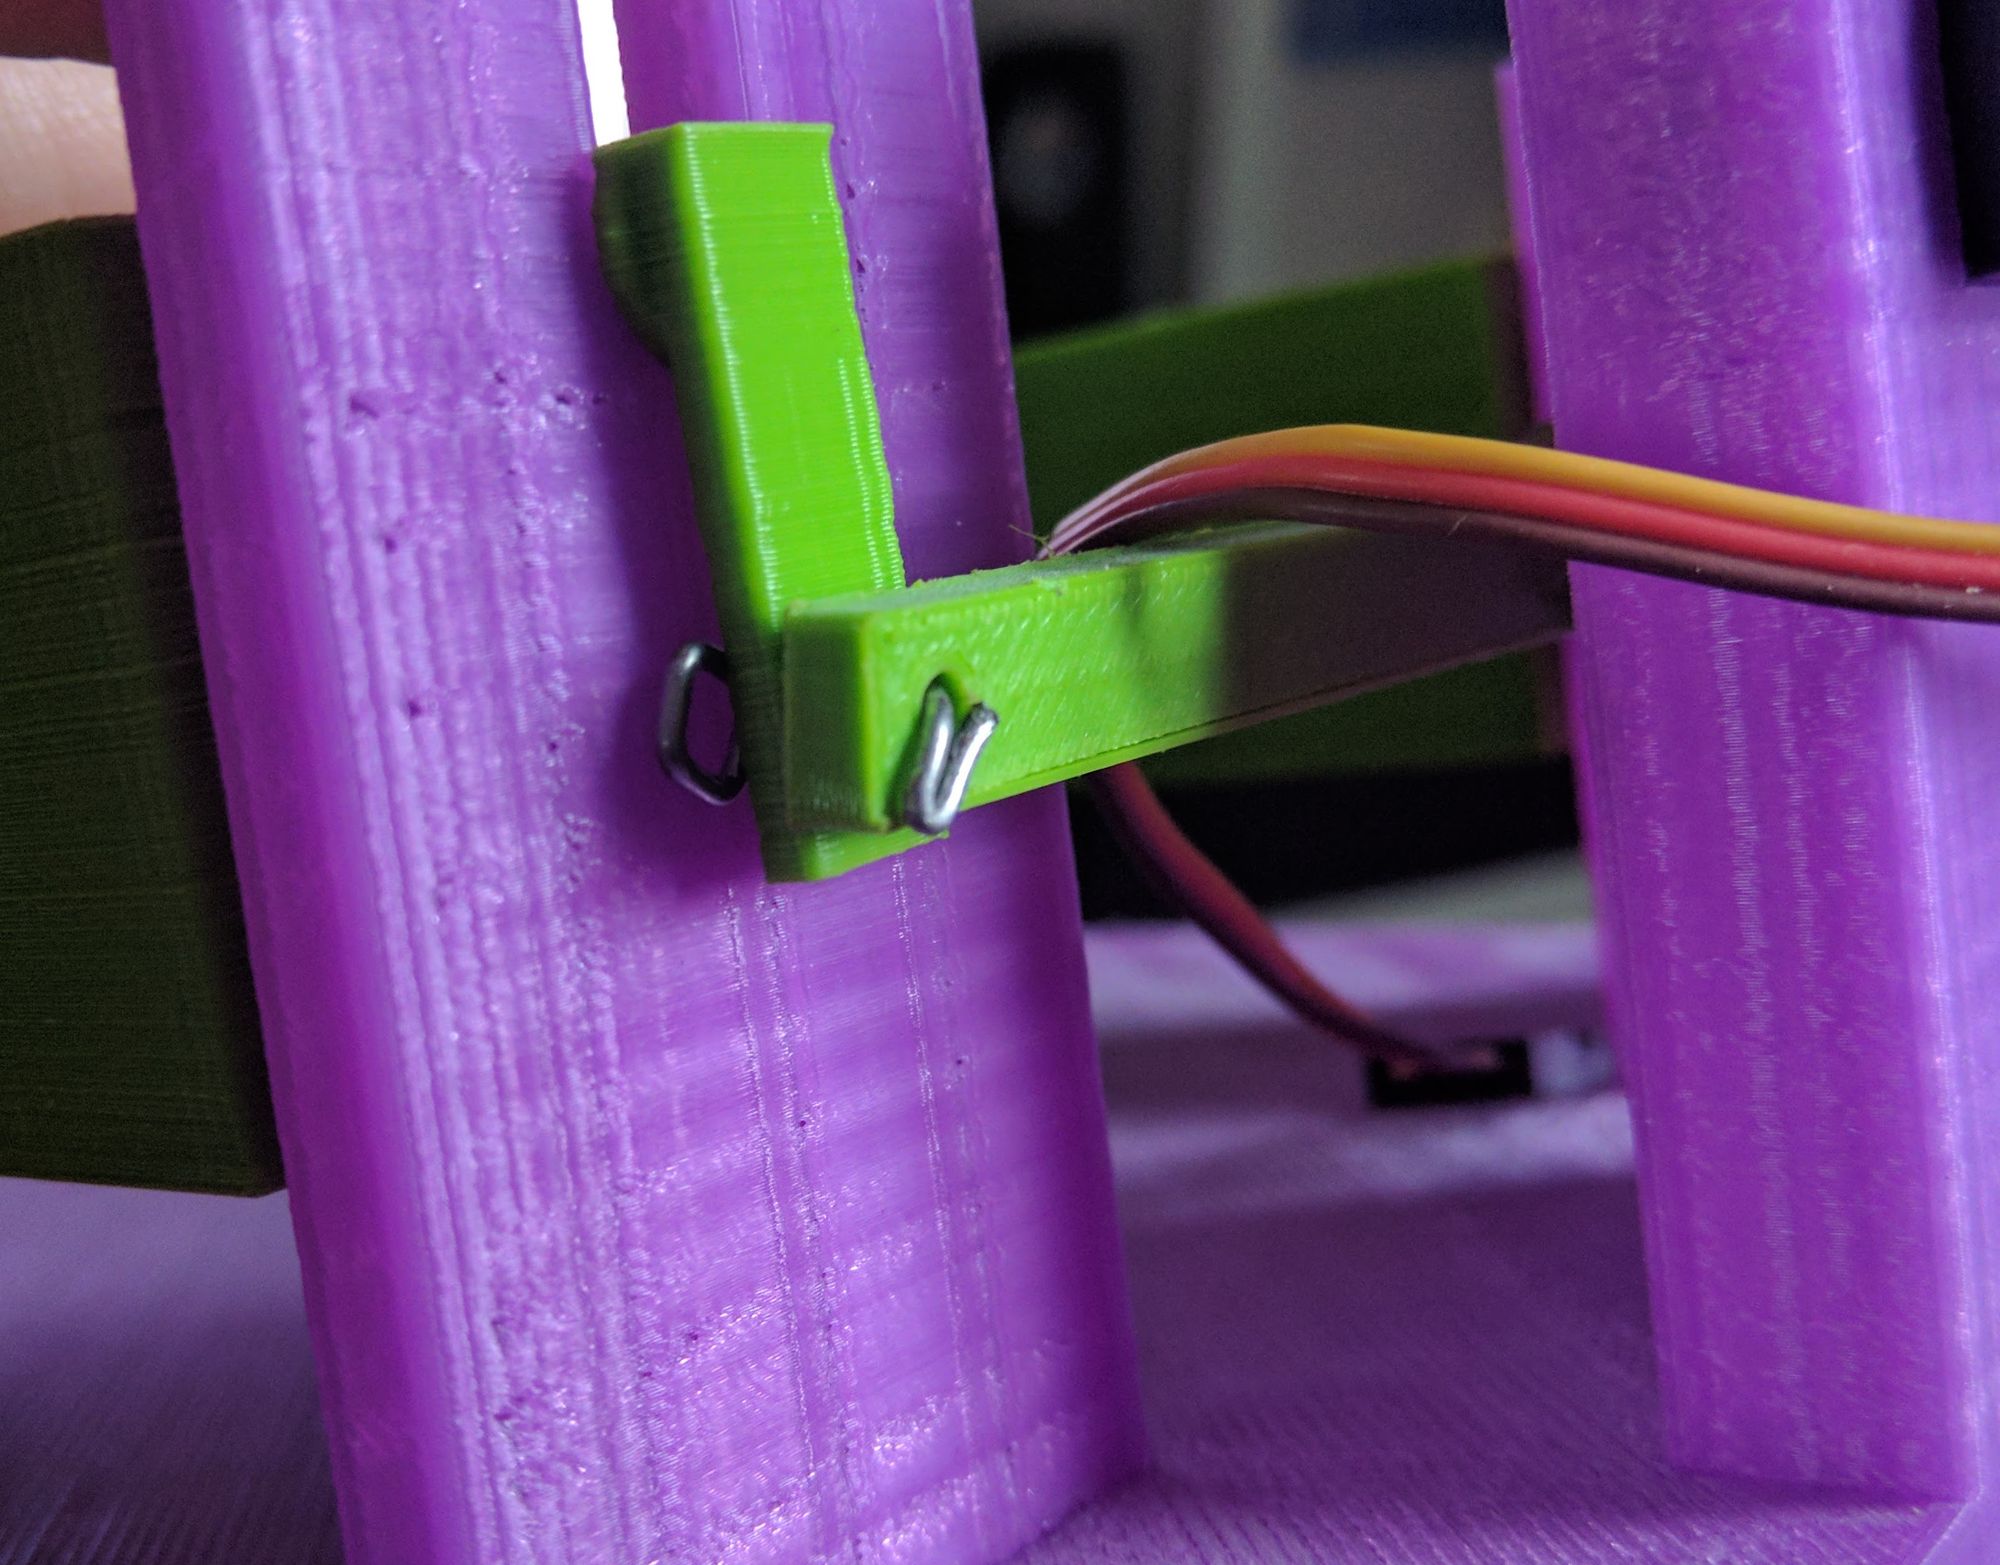
All the parts assembled

I used paperclips to fasten the servo to the crossbar and then the crossbar to the egg cups.
I stripped off the plastic coating on the paperclips, stuck them through the holes and then bent them to keep them from coming out.
Pretty hacky, but it did the job.
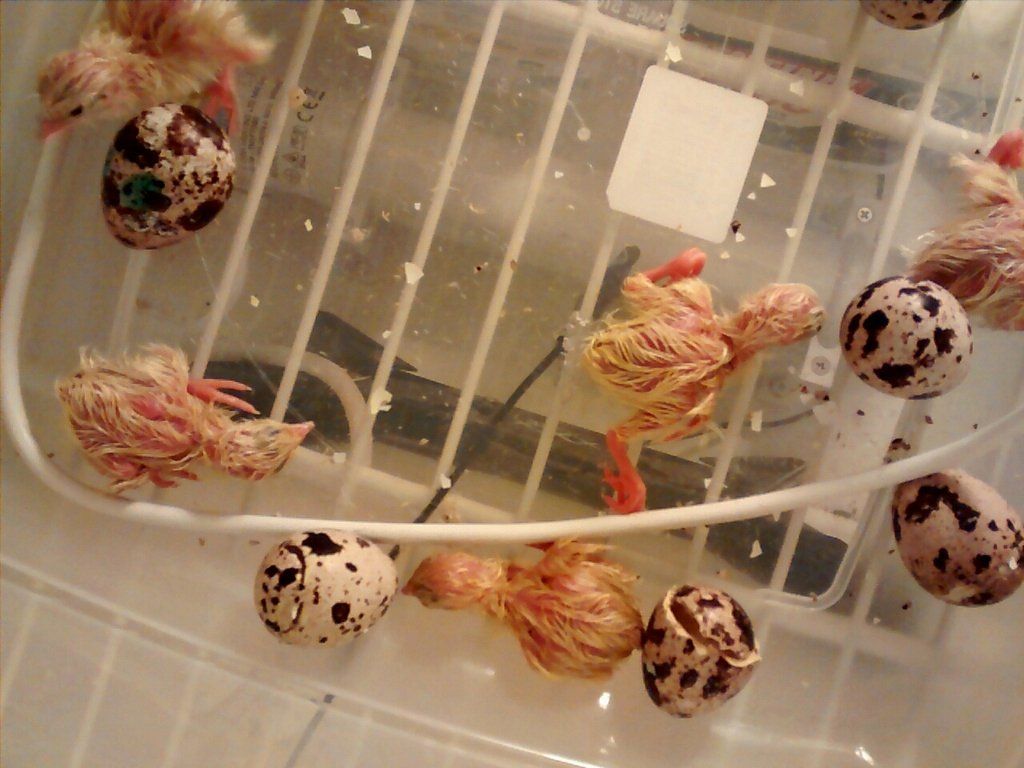
Results
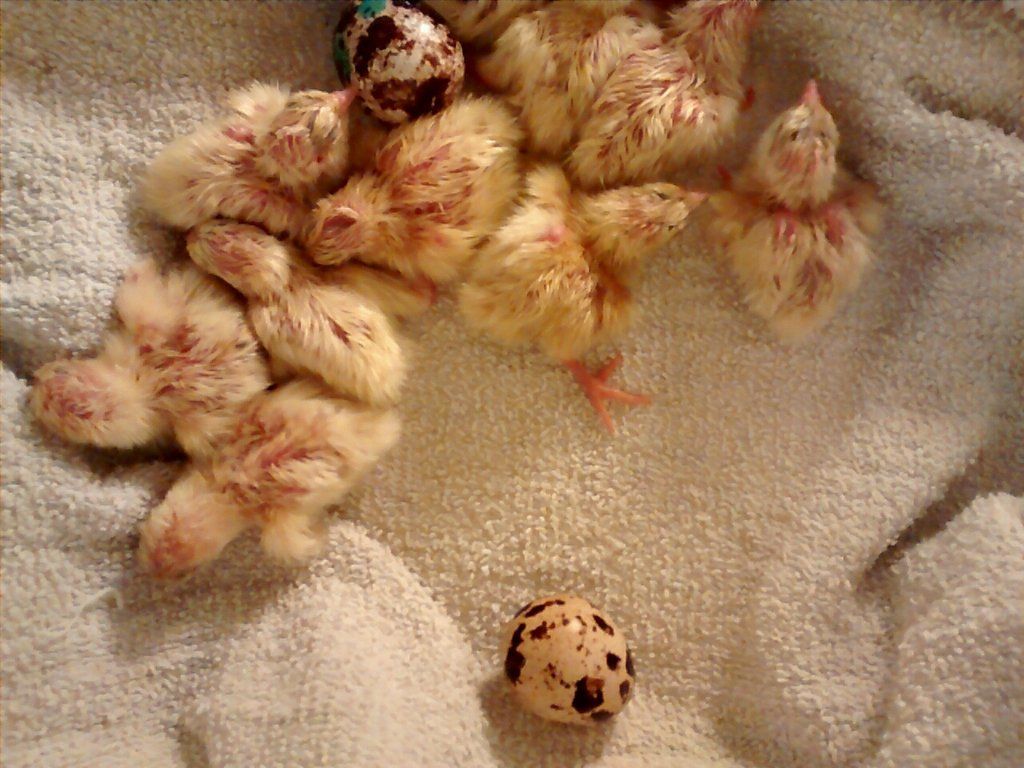
10 out of the 12 eggs hatched.
Surprisingly, one of the eggs that I was not turning did manage to hatch.
So 9 out of 10 of the turned eggs hatched and 1 out of the 2 stationary eggs hatched.
Possible improvements
Upgrade the servo
One of the things I noticed when I had all 10 of the massive Coturnix eggs in the turner is that sometimes the servo would move into position and not quite register that it was in the right place and then shake slightly until it was told to move.
This was a bit worrying as I wasn't sure if it would mess with the embryos, but it seems to have all worked.
To improve on the design I could just use a stronger metal geared servo, which would hopefully have the torque to move straight into position and stay there.
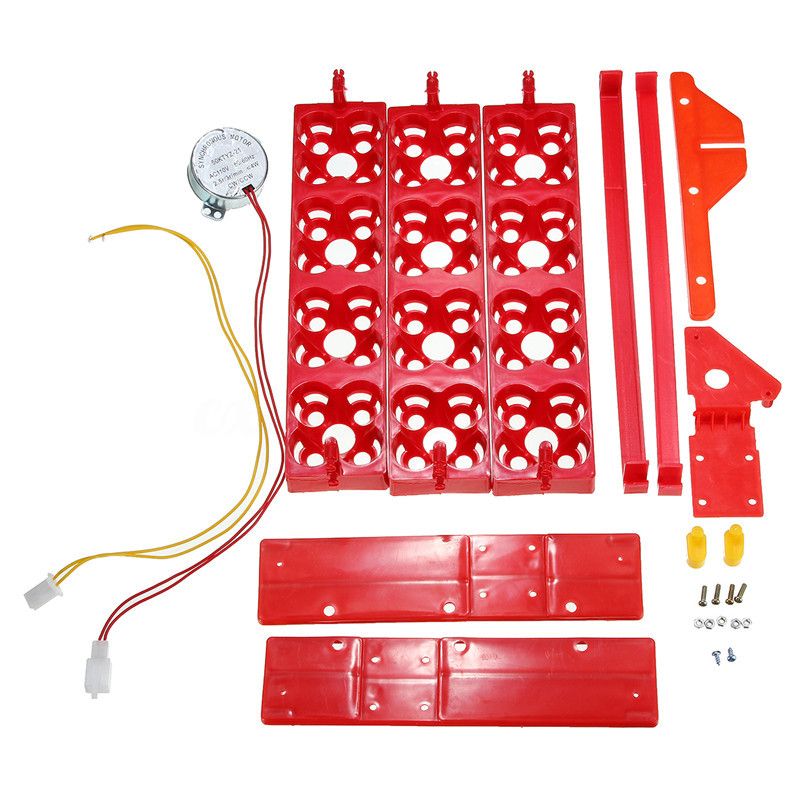
Would need to start from scratch for larger scale
This whole design is fairly small scale.
If my new quail keeping hobby ends up being a quail breeding hobby, I want to make a large purpose-built incubator with built-in trays that turn. I could then just 3D Print the egg trays that the eggs sit on.
Something like this:
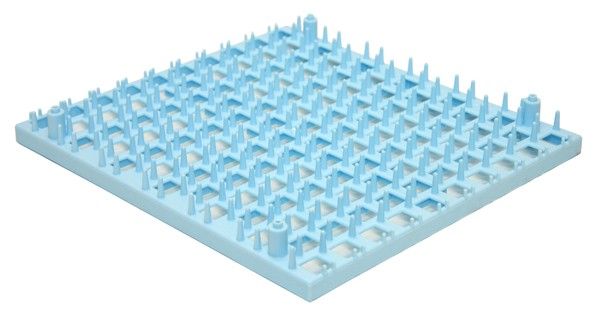
If I split it into 4, I could get around the limitation of the size of the print bed.