A Beginner Arduino Project - Digital Dice Roll
A fun beginner project on the Arduino platform. Making a digital dice roll.

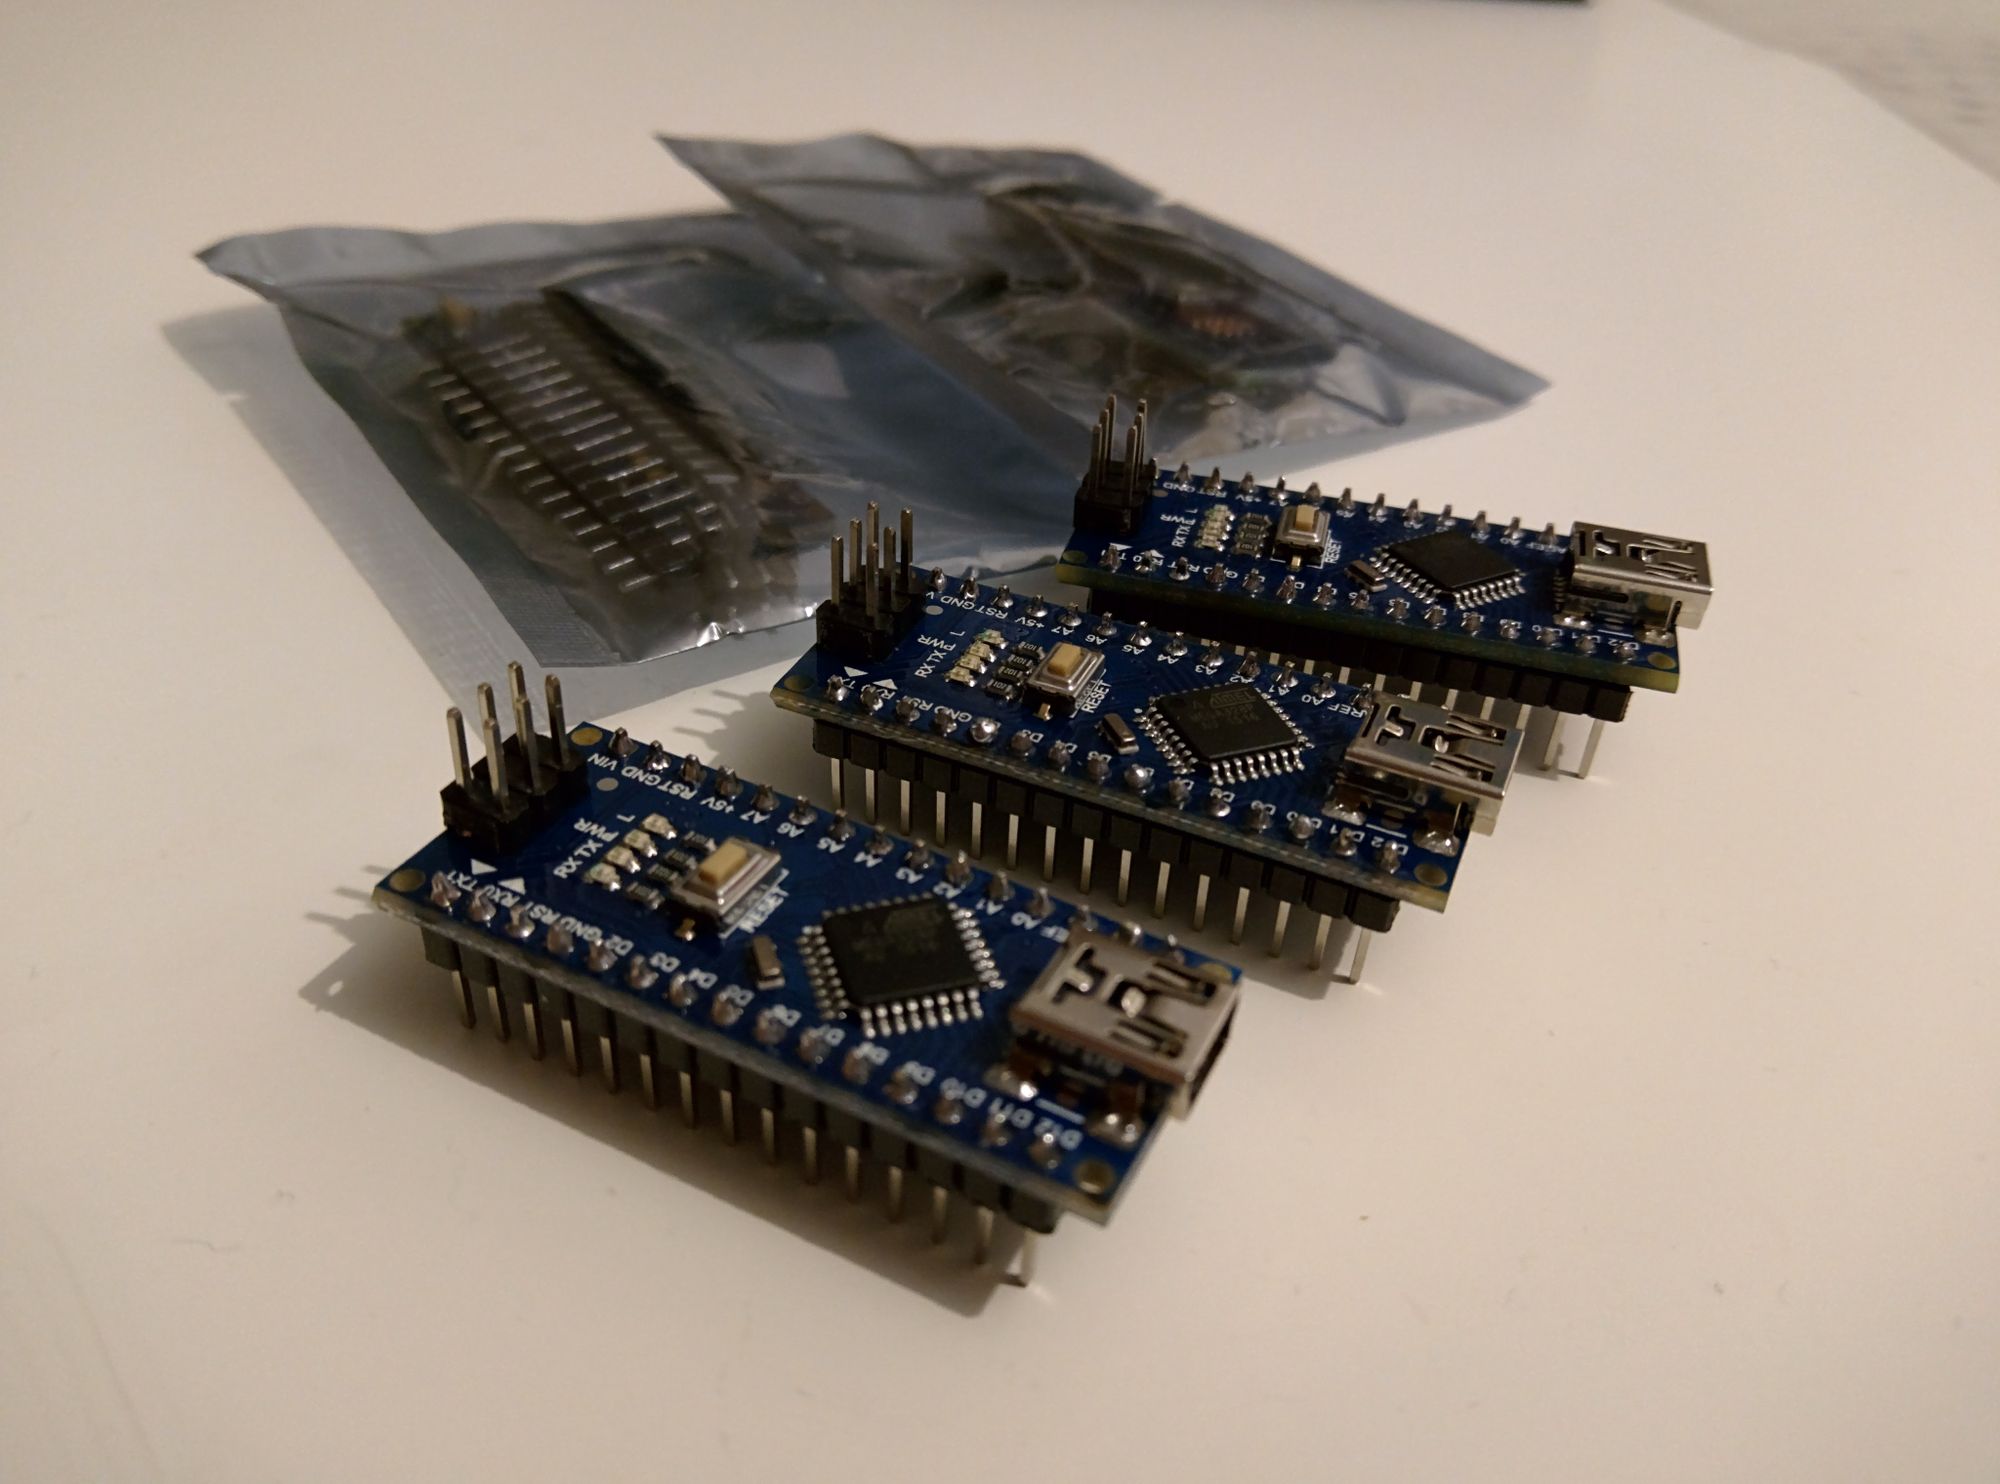
I got my hands on 6 knock-off Arduino® Nano type boards from China and I was itching to get something running on them. I tried the basic blinking LED demo, but I wanted to try something different that would help me get a grasp on the language and some of the capabilities and limitations of it.
So, I thought a nice extension of the blinking LED demo, was a dice roll. I already knew how to make one LED work, I could scale it up and add in a button and I would be all set.
The Components
Here is the list of components that I needed to get this working:
Arduino® type board of some sort. I had some in the Nano form factor. For simplicity I am just going to call it an Arduino for the rest of this post.
Some LEDs, you need 7 if you want to keep the typical dice shape for each number.

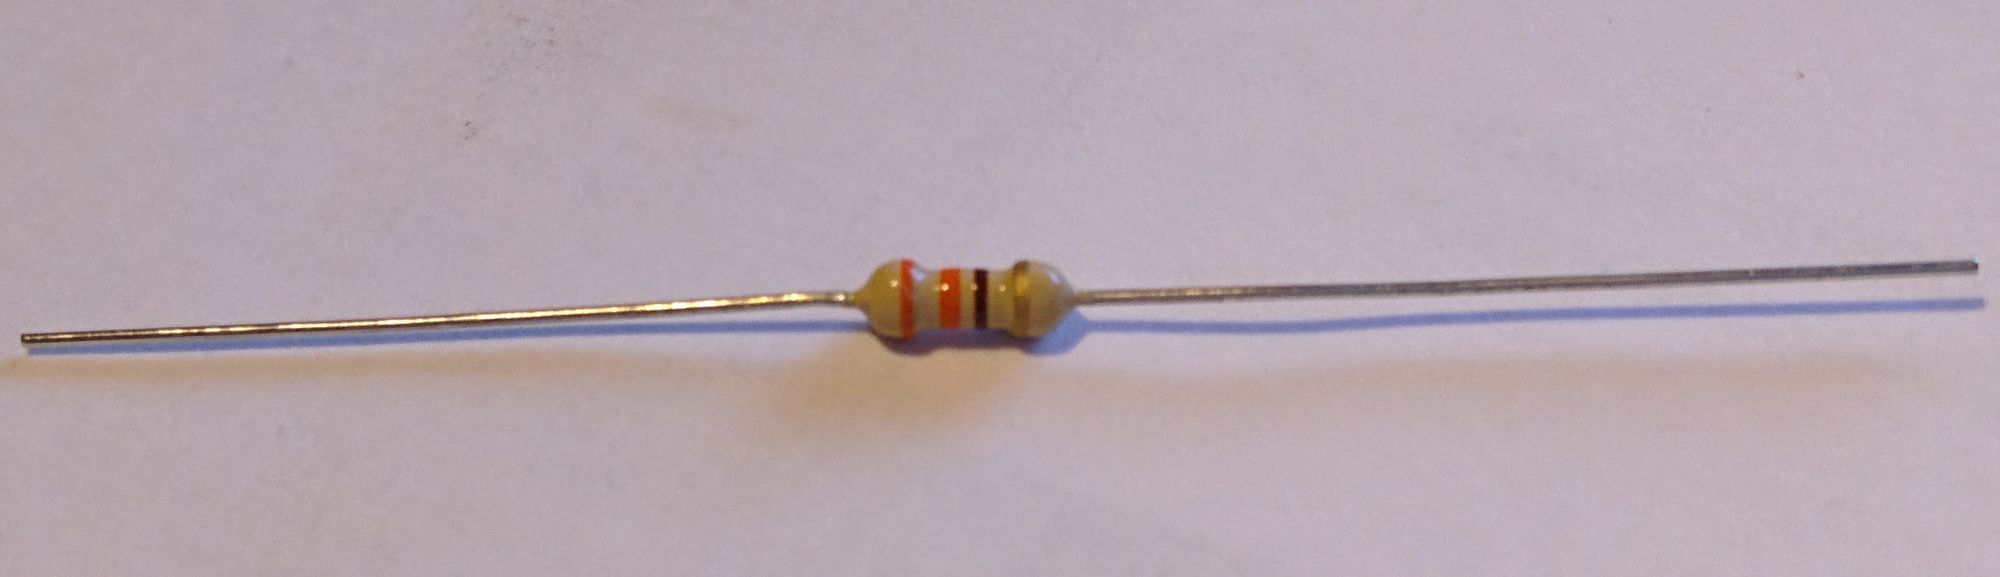
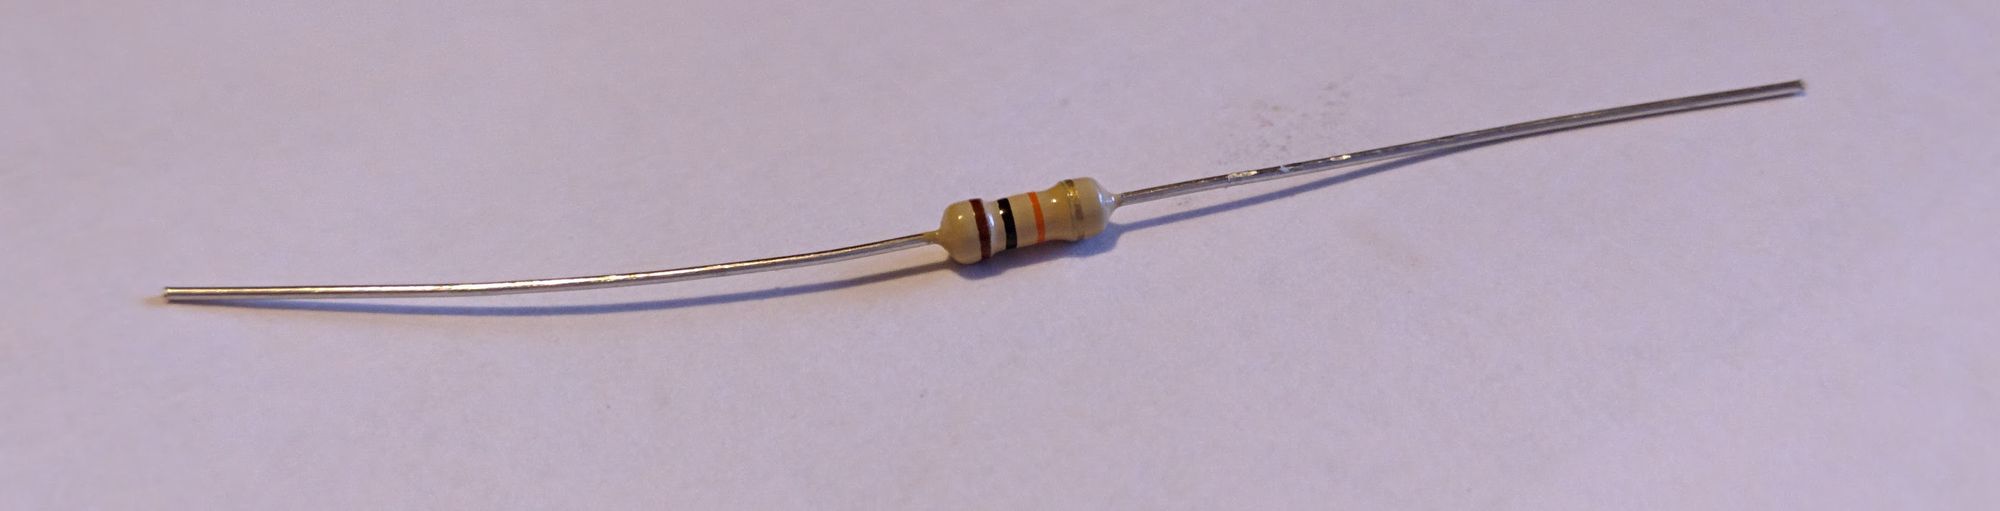
Some resistors to lower the current for each LEDs, I used 330Ω resistors.
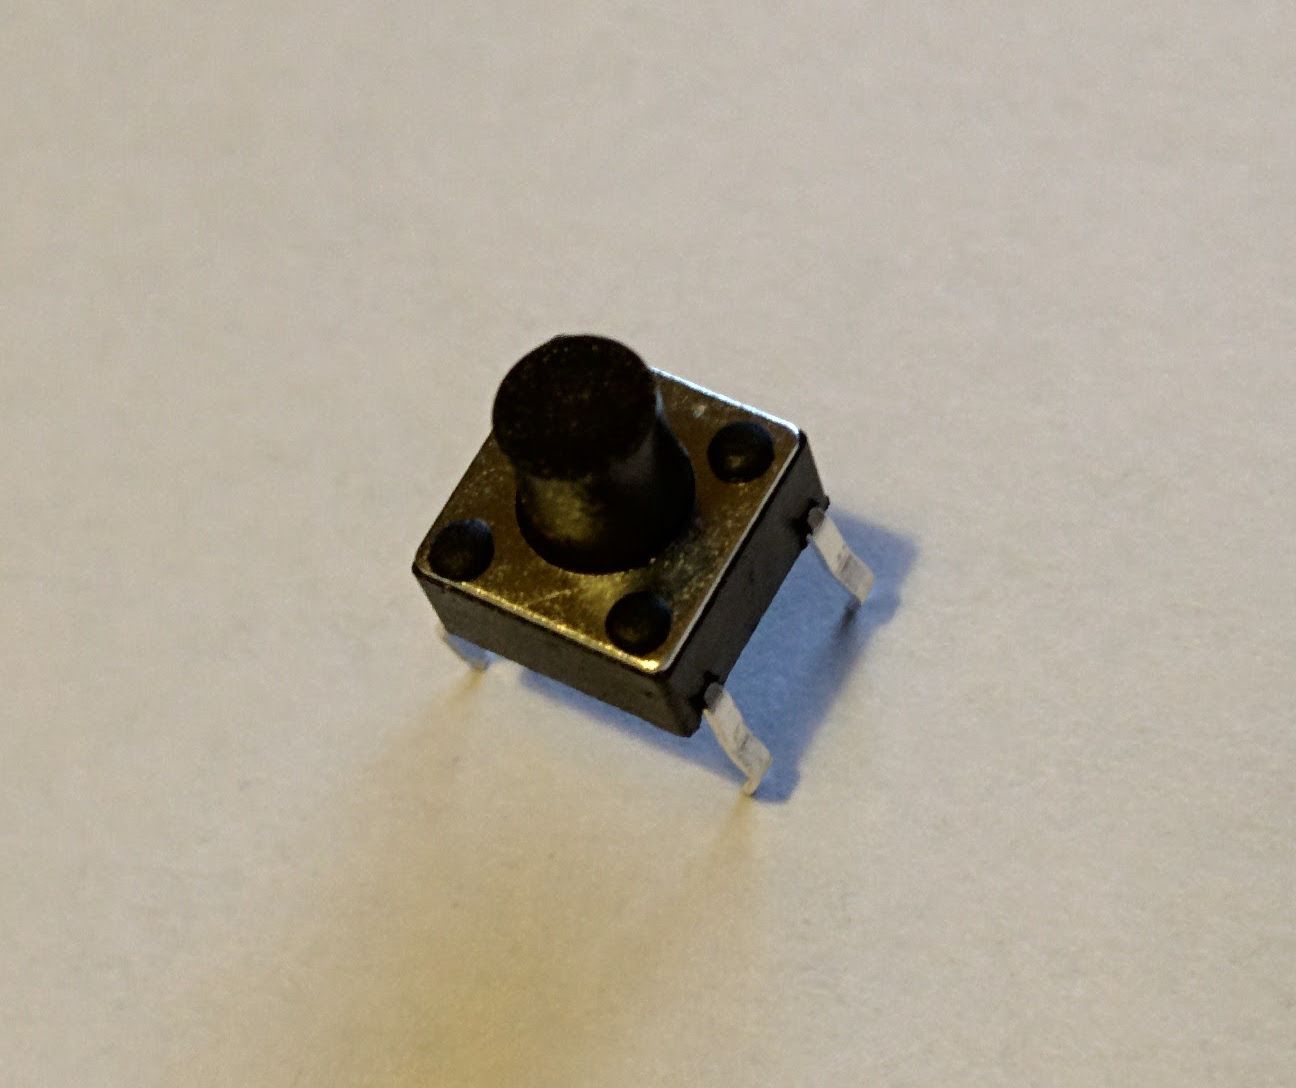
A button to trigger the dice roll.
A pull down resistor. I used a 10kΩ resistor.
Assembly
This is a combination and extension of the Arduino Blink and Button tutorials, see each of those if you want to see how the components are wired individually.
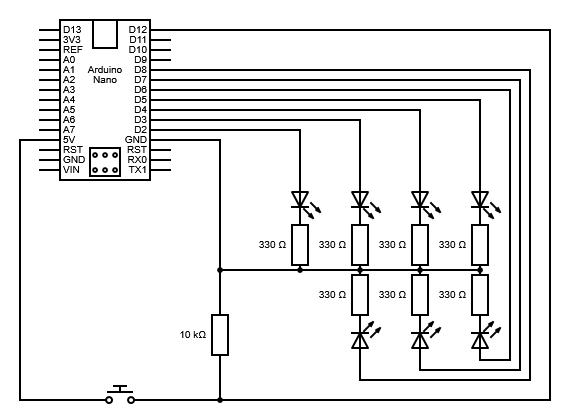
Power is supplied to the circuit by connecting the Arduino to USB.
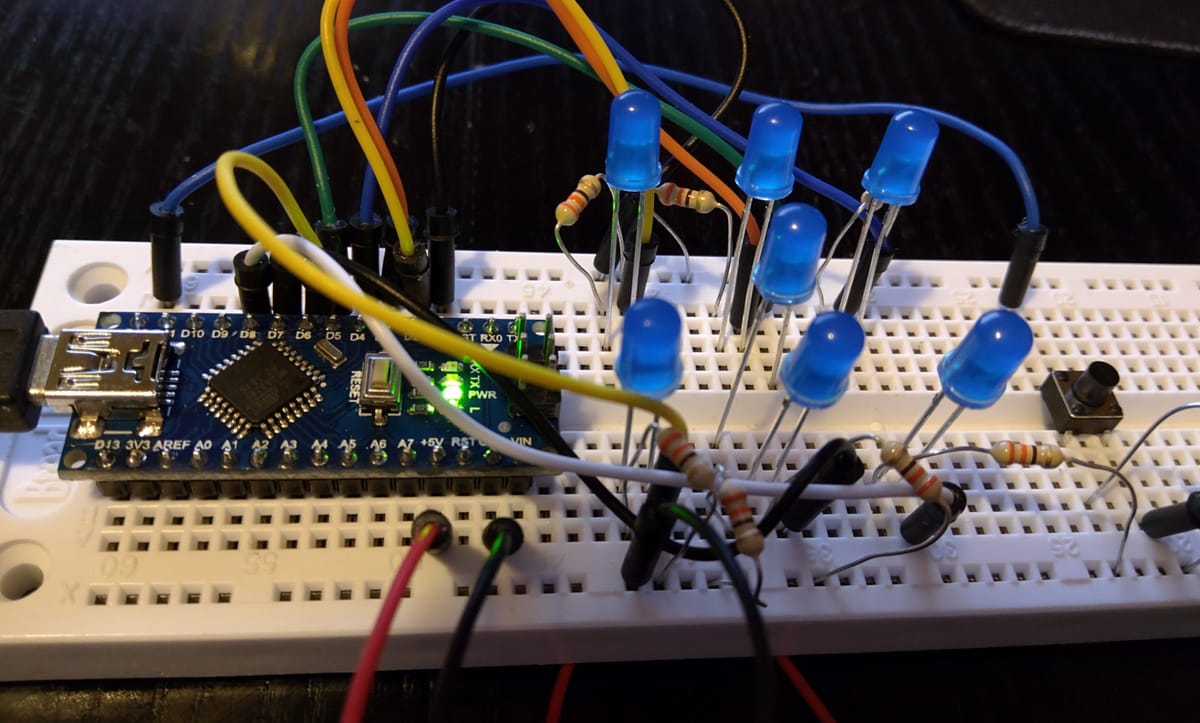
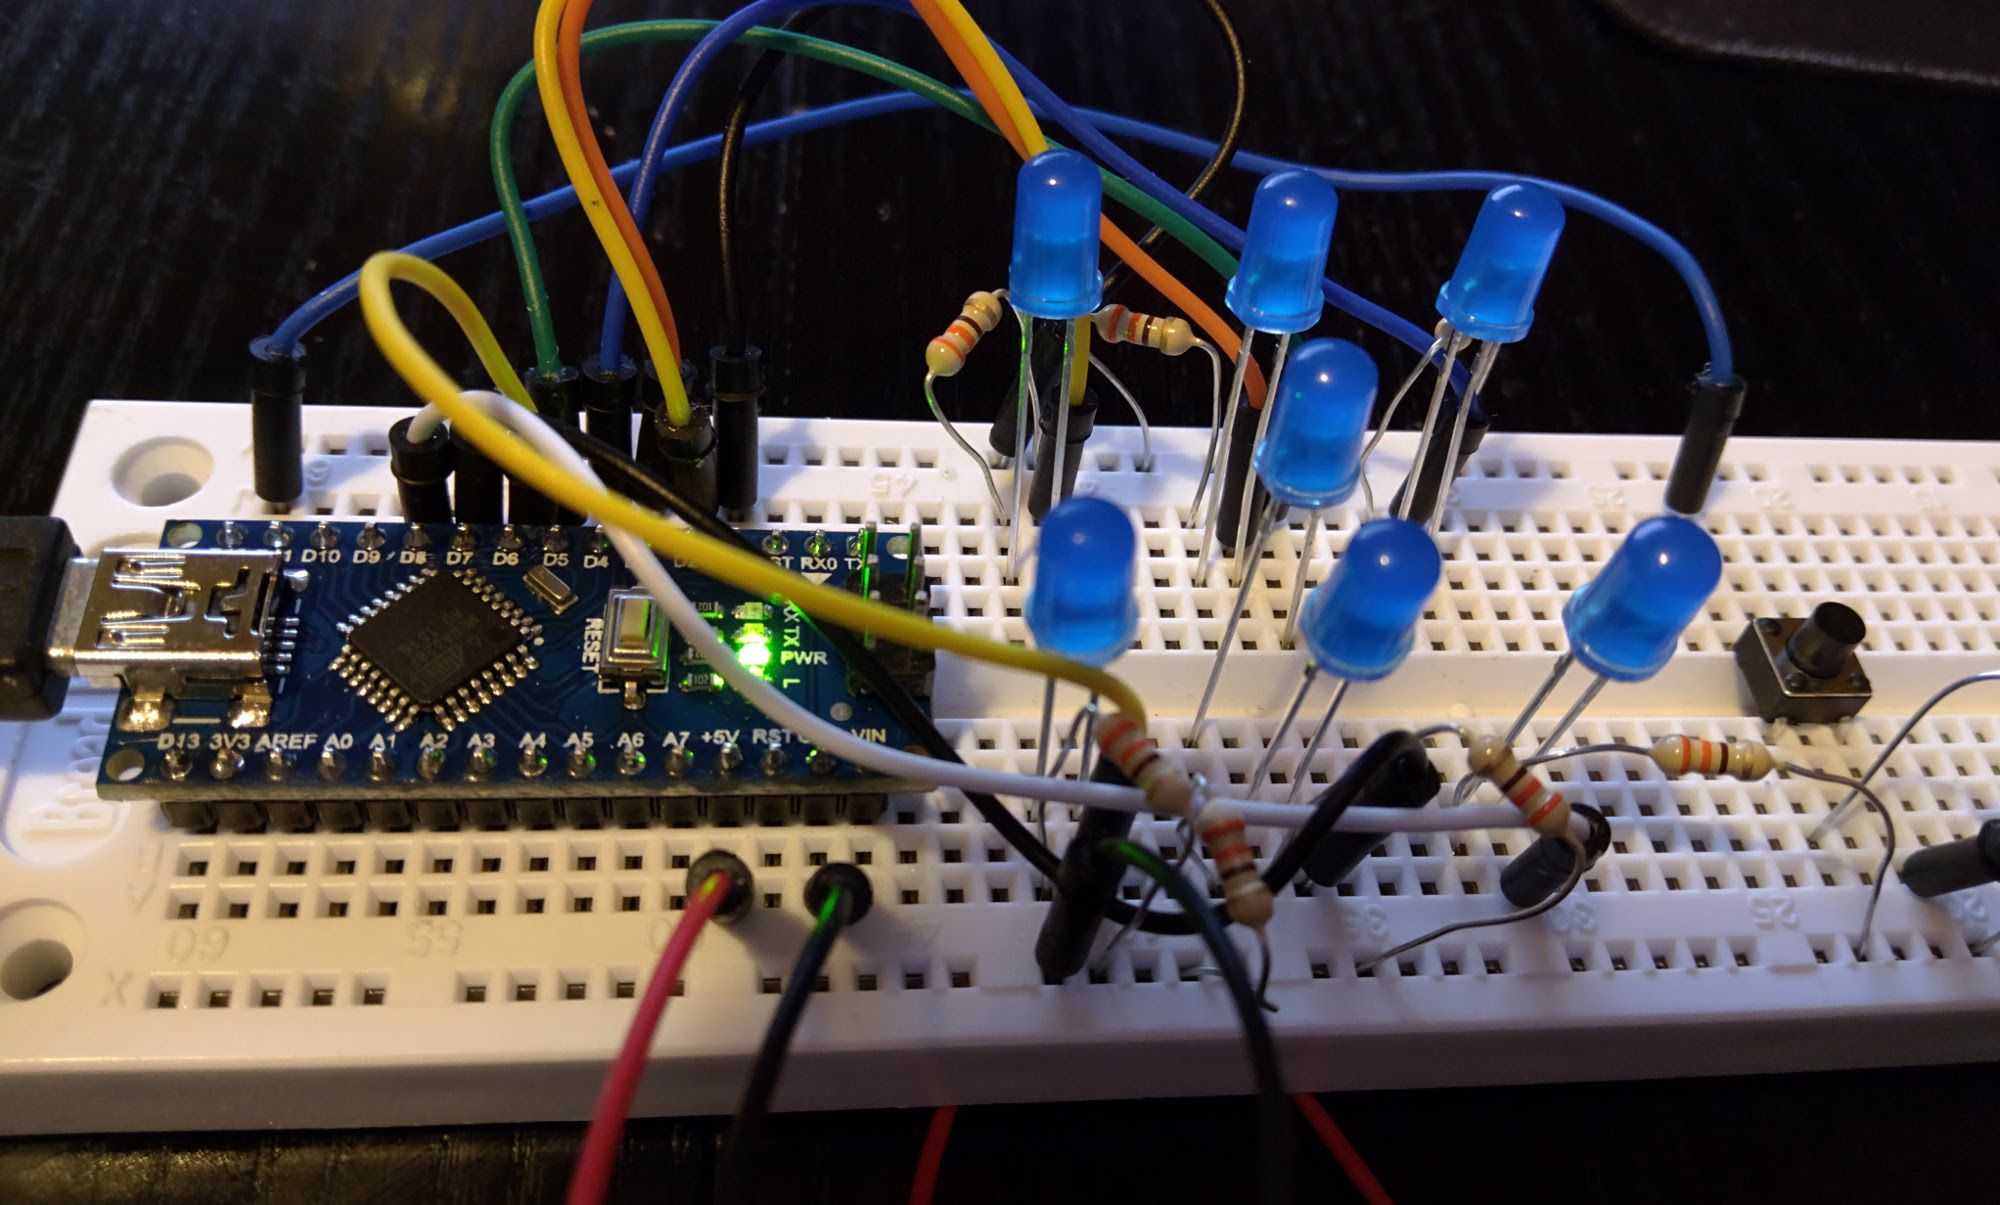
It looked a lot messier when it was actually built.
Note: that the LEDs are arranged in an "I" shape. This is so that every number from 1 to 6 can be represented in the same shape as would be expected on a normal dice.
The Code
I was surprised by some of the limitations of the C-type language used on the Adruino.
I am used to Python, PHP and JavaScript, where you don't care about types, there are amazing helper functions and you can just do what you want.
There were 2 main things that got me.
Firstly, I wanted to be lazy and when I generated a random number from 1 to 6, I wanted to use that, concatenated to a string to dynamically reference the relevant array of pins to toggle. Apparently this can't be done (or at least Google couldn't tell me how), so I had to do it the long way and break it up into a switch statement, with cases for each of the possibilities.
The other thing was a missing foreach function. I found reference to one as an extra utility that you can download, but the utility seemed to have its own dependencies that I had to import as well, so instead of getting stuck in an endless dependency missing loop I just wrote my own little function to toggle each of the pins in the passed array, which got the job done.
//variables to map pins to where the LEDs were positioned
int topLeft = 2;
int topMid = 3;
int topRight = 4;
int mid = 5;
int bottomLeft = 6;
int bottomMid = 7;
int bottomRight = 8;
int buttonPin = 12;
int buttonState = 0;
int betweenFlashDelay = 250;
//arrays mapping which LEDs should be on to represent each number
int show1[] = {mid};
int show2[] = {bottomLeft, topRight};
int show3[] = {bottomLeft, mid, topRight};
int show4[] = {topLeft, topRight, bottomLeft, bottomRight};
int show5[] = {topLeft, topRight, mid, bottomLeft, bottomRight};
int show6[] = {topLeft, topRight, topMid, bottomLeft, bottomMid, bottomRight};
int allPins[] = {topLeft, topRight, topMid, mid, bottomLeft, bottomMid, bottomRight};

void setup() {
  // set the relevant pins to the correct mode
  pinMode(topLeft, OUTPUT);
  pinMode(topMid, OUTPUT);
  pinMode(topRight, OUTPUT);
  pinMode(mid, OUTPUT);
  pinMode(bottomLeft, OUTPUT);
  pinMode(bottomMid, OUTPUT);
  pinMode(bottomRight, OUTPUT);
  pinMode(buttonPin, INPUT);
  //start the random number sequence somewhere random by retrieving the input from an unconnected analogue pin
  randomSeed(analogRead(0));
}

void loop() {
  //check for input
  buttonState = digitalRead(buttonPin);
  if (buttonState == HIGH) {
    //do a flash twice to indicate dice roll
    switchPins(allPins, 7, LOW);
    delay(betweenFlashDelay);
    switchPins(allPins, 7, HIGH);
    delay(betweenFlashDelay);
    switchPins(allPins, 7, LOW);
    delay(betweenFlashDelay);
    switchPins(allPins, 7, HIGH);
    delay(betweenFlashDelay);
    switchPins(allPins, 7, LOW);
    delay(betweenFlashDelay);
    //generate a random number between 1 and 6
    int number = random(1,7);
    //for each number switch all the relevant pins on
    switch (number) {
      case 1:
        switchPins(show1, 1, HIGH);
        break;
      case 2:
        switchPins(show2, 2, HIGH);
        break;
      case 3:
        switchPins(show3, 3, HIGH);
        break;
      case 4:
        switchPins(show4, 4, HIGH);
        break;
      case 5:
        switchPins(show5, 5, HIGH);
        break;
      case 6:
        switchPins(show6, 6, HIGH);
        break;
    }
    //extra delay to prevent potential weirdness if button is held in
    delay(betweenFlashDelay);
  }
}

//for passed array, switch each pin to value of intensity
void switchPins(int pinArray[], int arraySize, int intensity){
  for (int i = 0; i < arraySize; i++) {
      digitalWrite(pinArray[i], intensity);
  }
}
Note: It is difficult for computers to be truly random. The first iteration of this code was missing the randomSeed() command from the setup function. That meant that every time the Arduino was reset, exactly the same number sequence would be produced; 2, 2, 6, 3, 5, 3, 1... This is the same pattern from the video below. I memorized it, because of seeing it so many times. Now with the randomSeed() command, the pseudo-random number sequence is started at a more random place. It uses the analogue input from an unconnected pin as the seed. The pin should just pick up background EM noise and at the time when the reading is taken, it is fairly random what number will be measured.
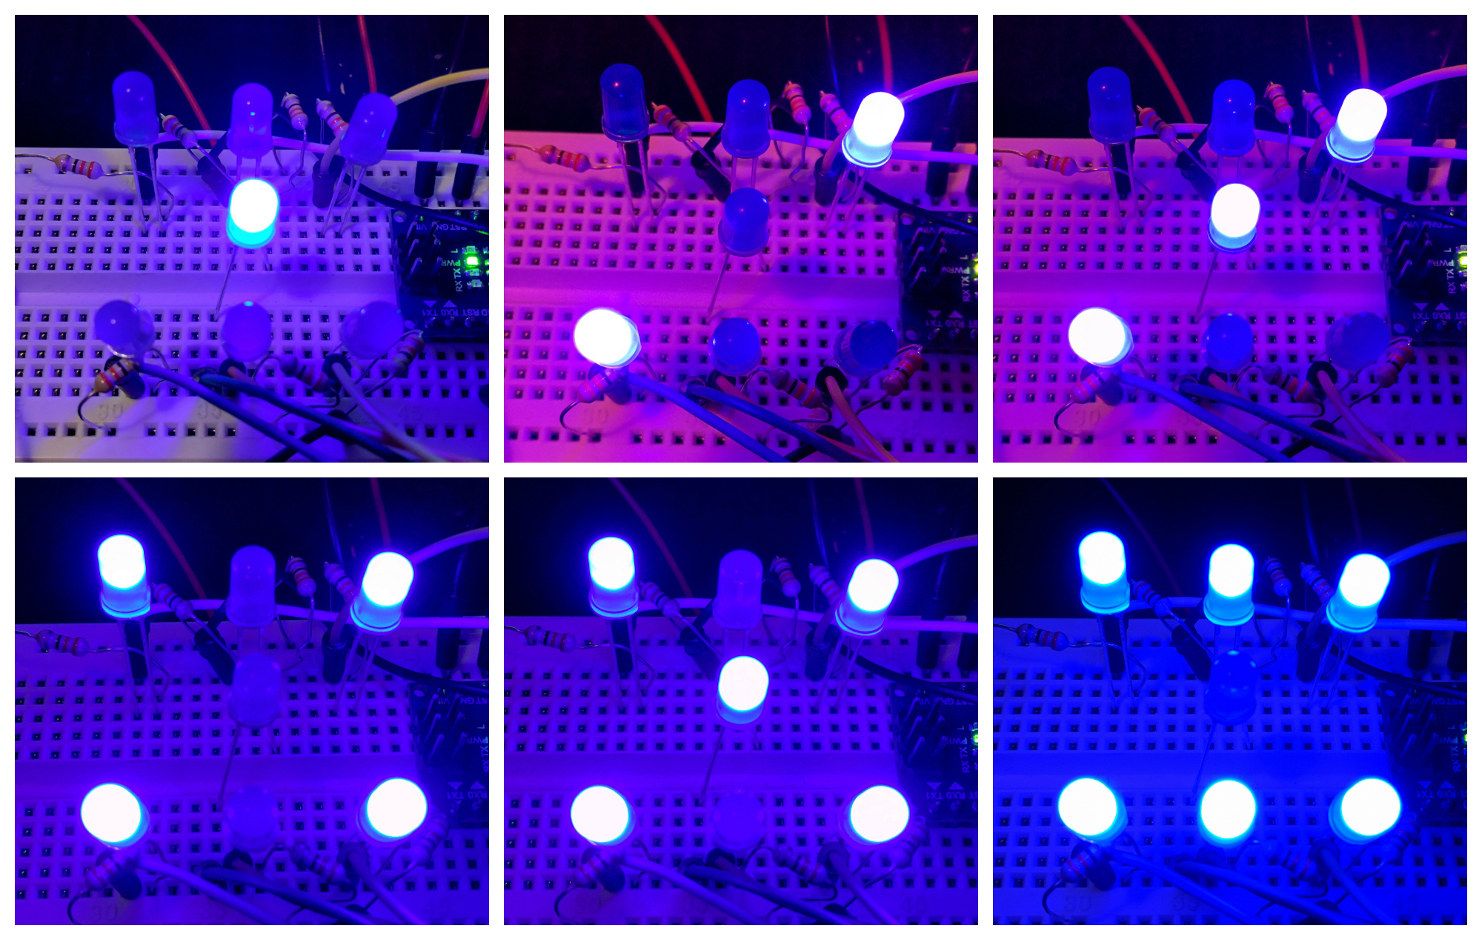
The Result
I loaded the above code onto the Arduino and pressed the button to get the following:
Well that is it.
It was a simple, short project, but hopefully it will be useful to someone who is starting out with Arduino.